Did you know that inside every tomato, pepper, and cucumber in your garden lies a treasure trove of future harvests? While most gardeners head to the store each spring for seeds, you’re actually surrounded by thousands of them – free for the taking – in your own backyard.
Learning to harvest seeds isn’t just about saving money (though you’ll definitely do that). It’s about becoming part of an age-old tradition that connects you to generations of gardeners before us. Plus, you’ll be preserving unique varieties and developing plants perfectly adapted to your specific growing conditions.
Introduction to Seed Harvesting and its Importance

When you collect seeds from your garden’s mature plants, you’re taking part in a money-saving tradition that’s been around for generations. By gathering seeds from your best-performing plants, you’ll have a ready supply for next season without spending a penny at the garden center.
It’s a simple process that puts you in control of your garden’s future. You can pick the plants that do well in your specific growing conditions, and keep those family-favorite vegetables coming back year after year. Plus, you’ll help preserve old-time varieties that might not be available in stores.
General Guidelines for Seed Collection
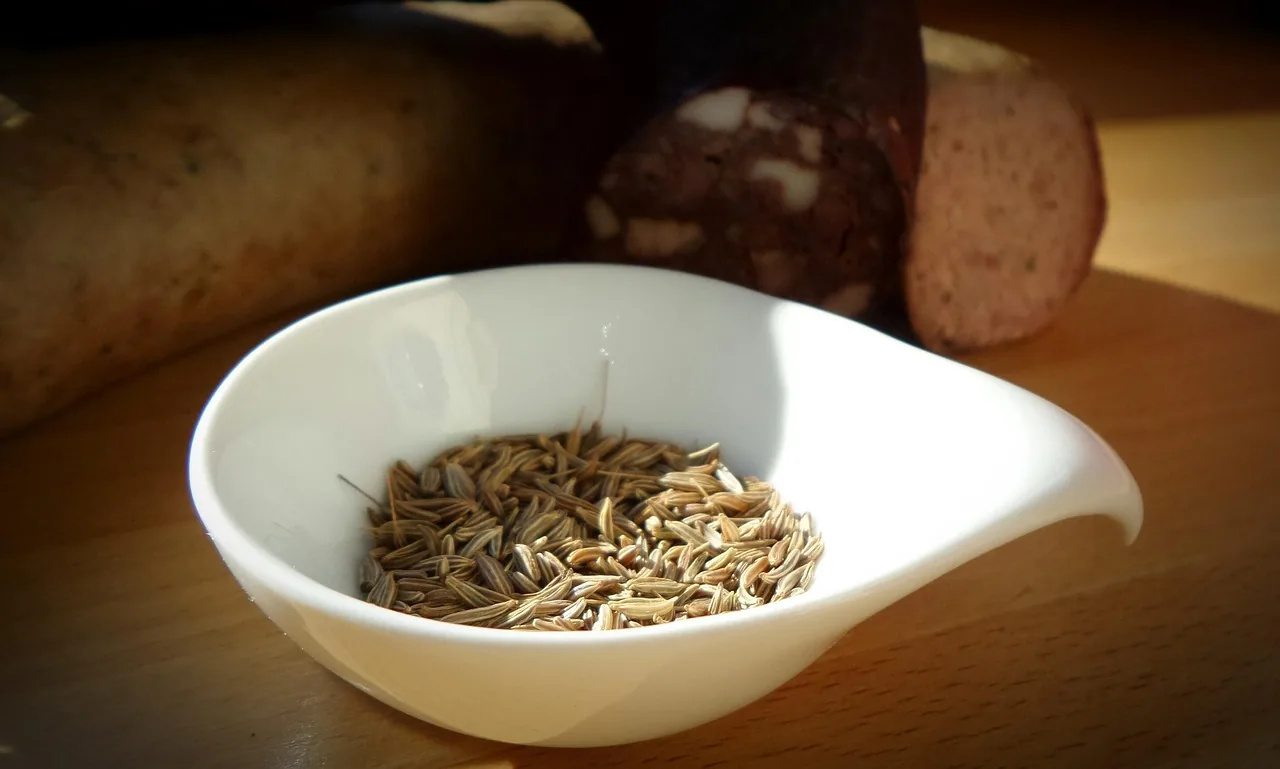
Timing is everything when you’re collecting seeds from your garden. Wait until fruits are fully ripe – they’ll often turn brown or change color to let you know they’re ready. Look for dry seed pods that rattle when you shake them, or fruits that are just past their peak.
Pick a dry, sunny day for your seed collecting (moisture leads to mold!). You’ll want to grab clean bags or containers before you head out, and only pick from your healthiest plants. After all, strong parent plants give you the best chance of success next season.
Tools Needed for Seed Harvesting
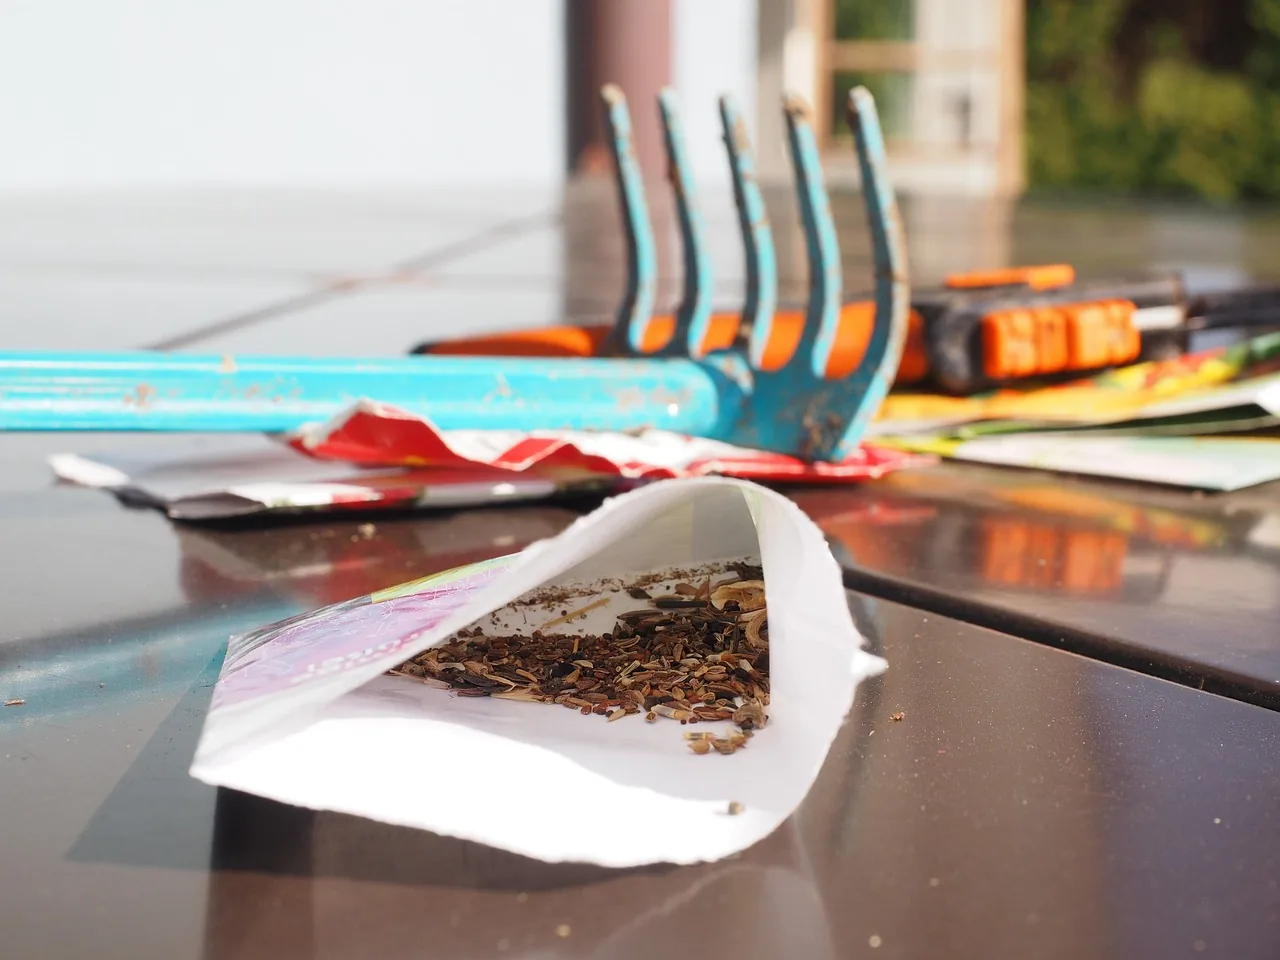
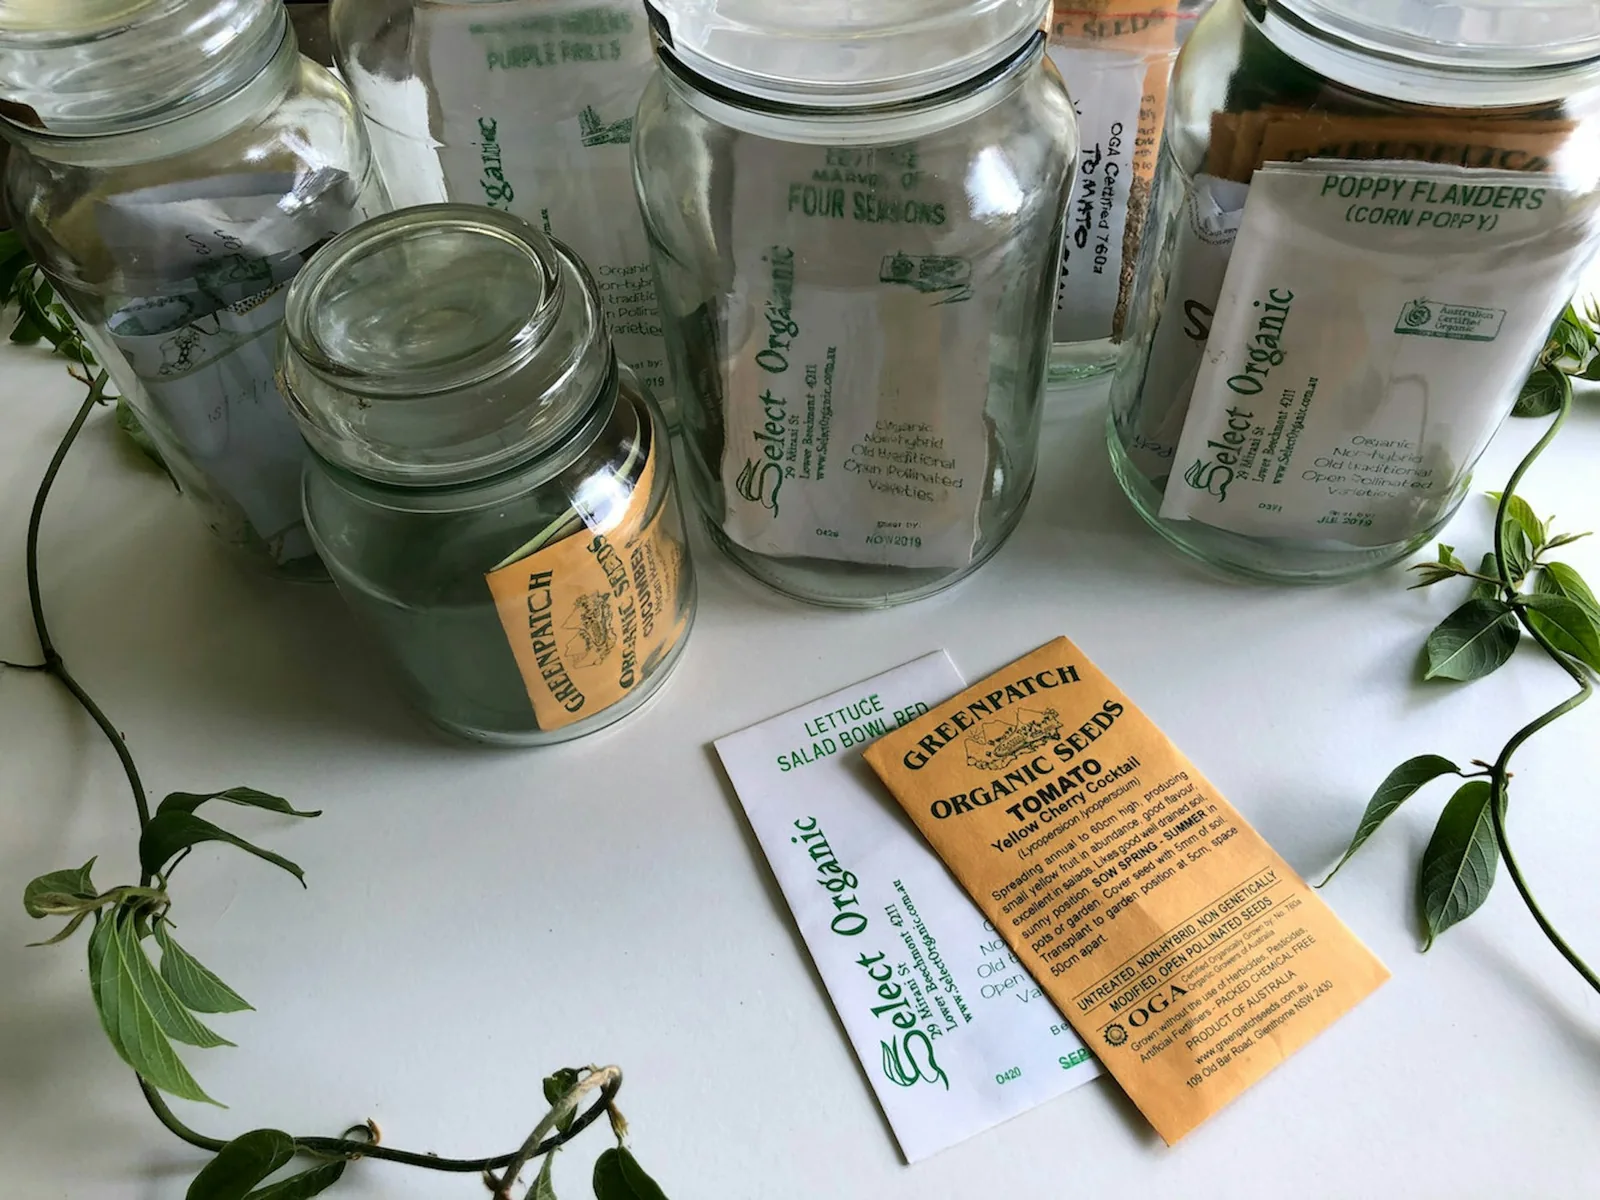
You’ll need just a few basic items to start collecting seeds from your garden. Paper bags and envelopes come in handy for gathering dry seeds – they let moisture escape and prevent mold growth. For wet seeds (like those from tomatoes), clean glass jars work best.
Don’t forget to grab some permanent markers for labeling – you’ll thank yourself next spring when you know exactly what’s what! A few screens make cleaning seeds much easier, and a good pair of pruning shears helps you snip those seed heads cleanly from the plant.
Keep these tools in a dedicated basket or box near your gardening supplies, and you’ll always be ready when harvest time rolls around.
Harvesting Seeds from Tomatoes
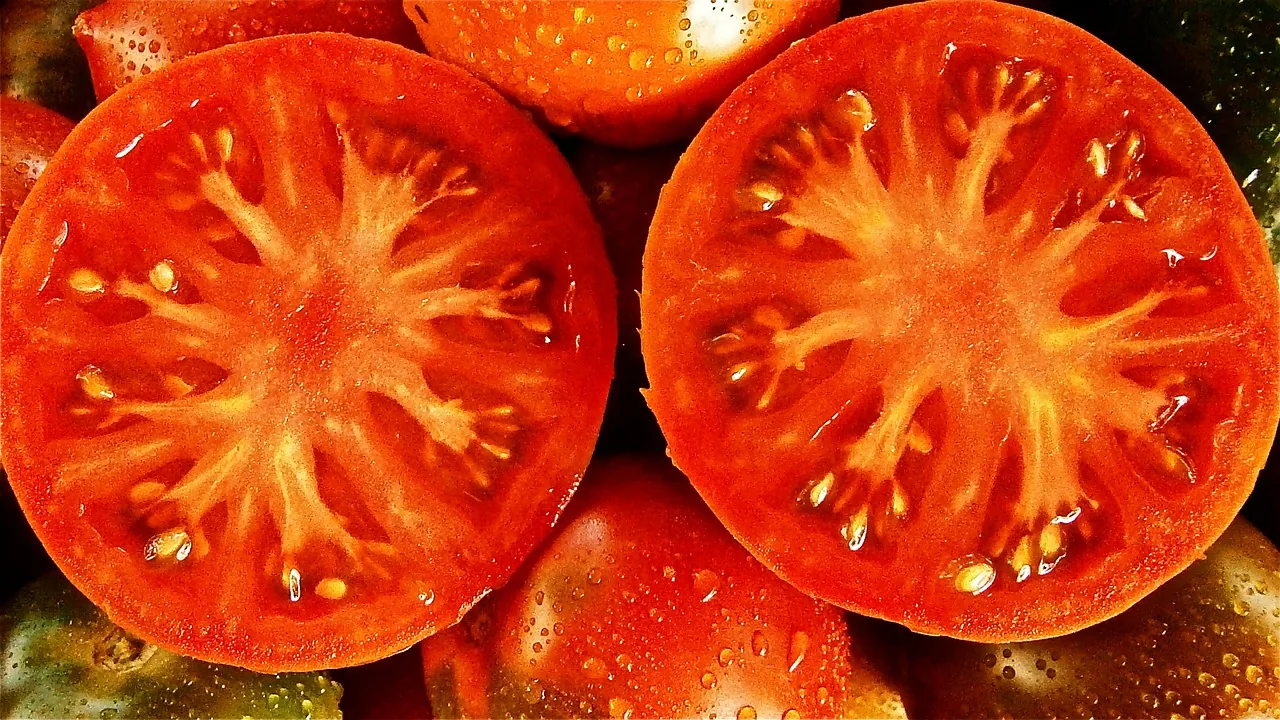
Let your tomatoes ripen completely on the vine until they’re slightly soft. Cut them open, and you’ll find the seeds surrounded by gel – that’s exactly what you want! Scoop everything into a clean glass jar and add a bit of water.
Leave the mixture on your counter for 2-3 days, giving it a gentle stir each day. You’ll notice some mold forming on top – that’s normal and helps separate the good seeds from the bad ones.
Pour everything through a fine mesh strainer, rinse well with water, and spread the seeds on paper towels. Once they’re completely dry (usually takes 3 to 4 days), pop them into an airtight container and store in a cool spot.
Collecting Seeds from Peppers

Peppers make seed saving super easy – just wait until they’re fully ripe and slightly wrinkled on the vine. For sweet peppers, you’ll notice they’ve turned red, yellow, or orange. If you’re working with hot peppers, pop on some gloves first (trust me, your hands will thank you later!).
Cut your peppers in half and gently scrape out the seeds. You’ll notice they’re dry and ready to go – no fermenting needed! Spread them on a paper towel and let them dry for about 4 to 5 days in a well-ventilated spot.
Once the seeds snap when you bend them, they’re ready for storage. Pop them into a labeled jar or envelope, and keep them in a cool, dark place until spring planting time.
Saving Seeds from Cucumbers and Melons
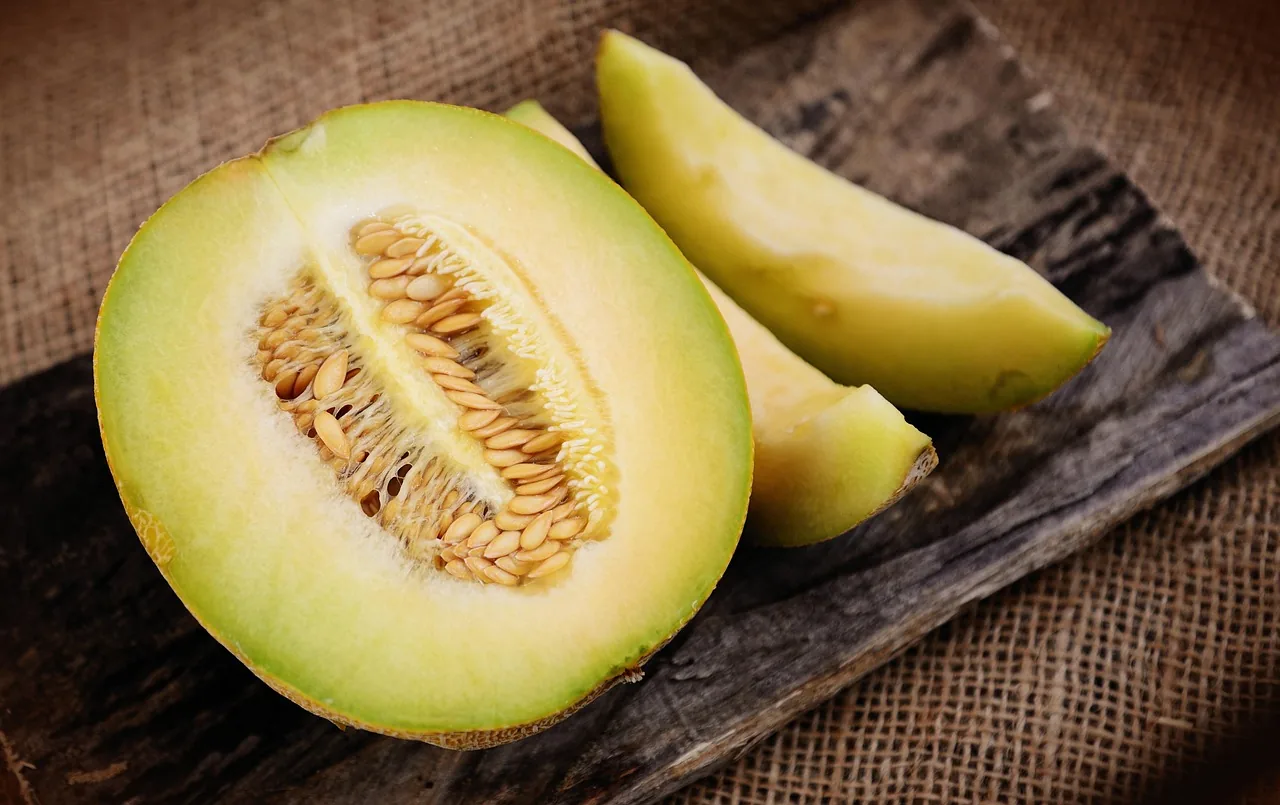
Let your cucumbers grow well past their eating stage – they should turn yellow and feel soft. For melons, wait until they’re extra ripe and starting to get mushy. Cut them open, and you’ll find plenty of seeds inside!
Scoop out the seeds and pop them in a jar with some water. Let them sit for about 2 to 4 days, giving them a daily stir. The good seeds will sink to the bottom, while the duds float to the top. Pour off the floaters, then rinse your good seeds in a strainer.
Spread your clean seeds on paper towels and let them dry completely (about a week). Once they’re brittle, store them in a sealed container in your kitchen cupboard.
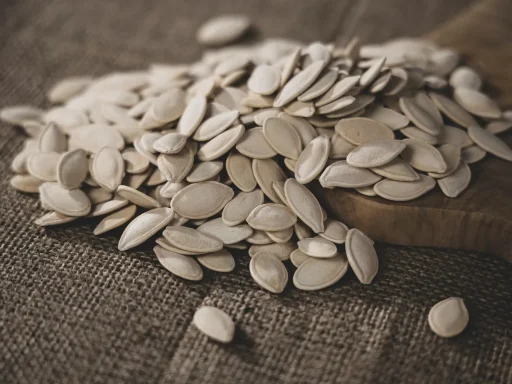
Harvesting Seeds from Squash and Pumpkins

When your squash or pumpkins are fully ripe and their shells are hard, it’s the perfect time to collect and store seeds. Cut open your vegetables and you’ll find plenty of seeds nestled in the stringy pulp. Remove the seeds and drop them into a colander.
Run cool water over the seeds while rubbing them between your fingers to remove any clinging bits. Once clean, spread them in a single layer on paper towels or newspaper. Place them in a spot with good airflow, and turn them daily until they’re completely dry (about 7 to 10 days).
Pack your dried seeds into a glass jar or paper envelope. Label with the variety and date, then store them in your kitchen cupboard or basement where it stays cool and dry.
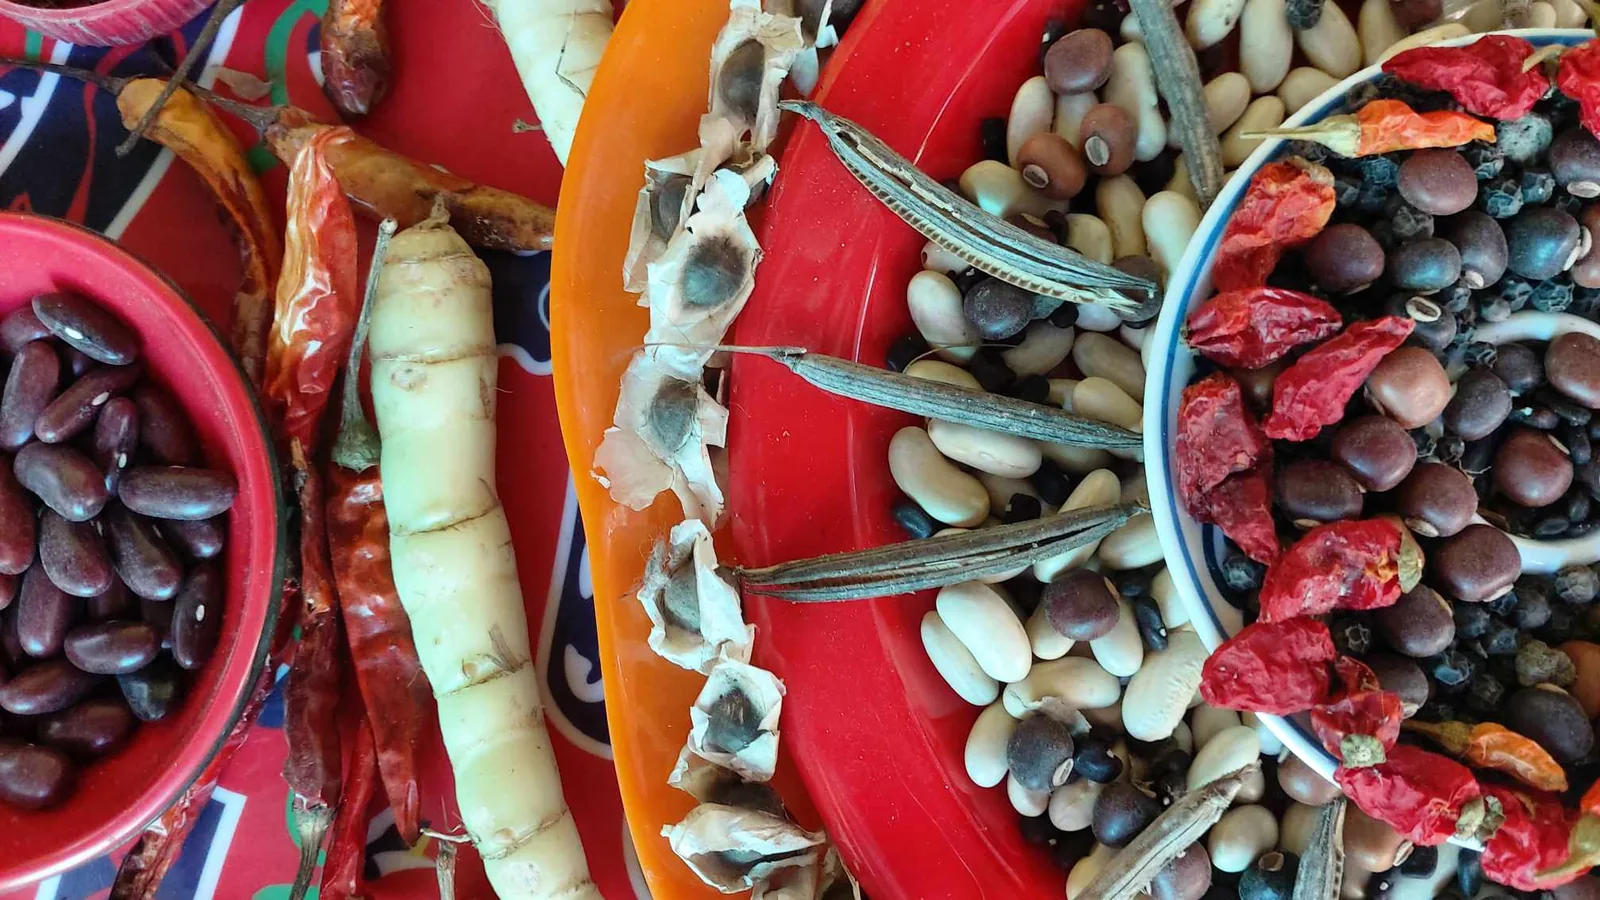
Collecting Seeds from Beans and Peas
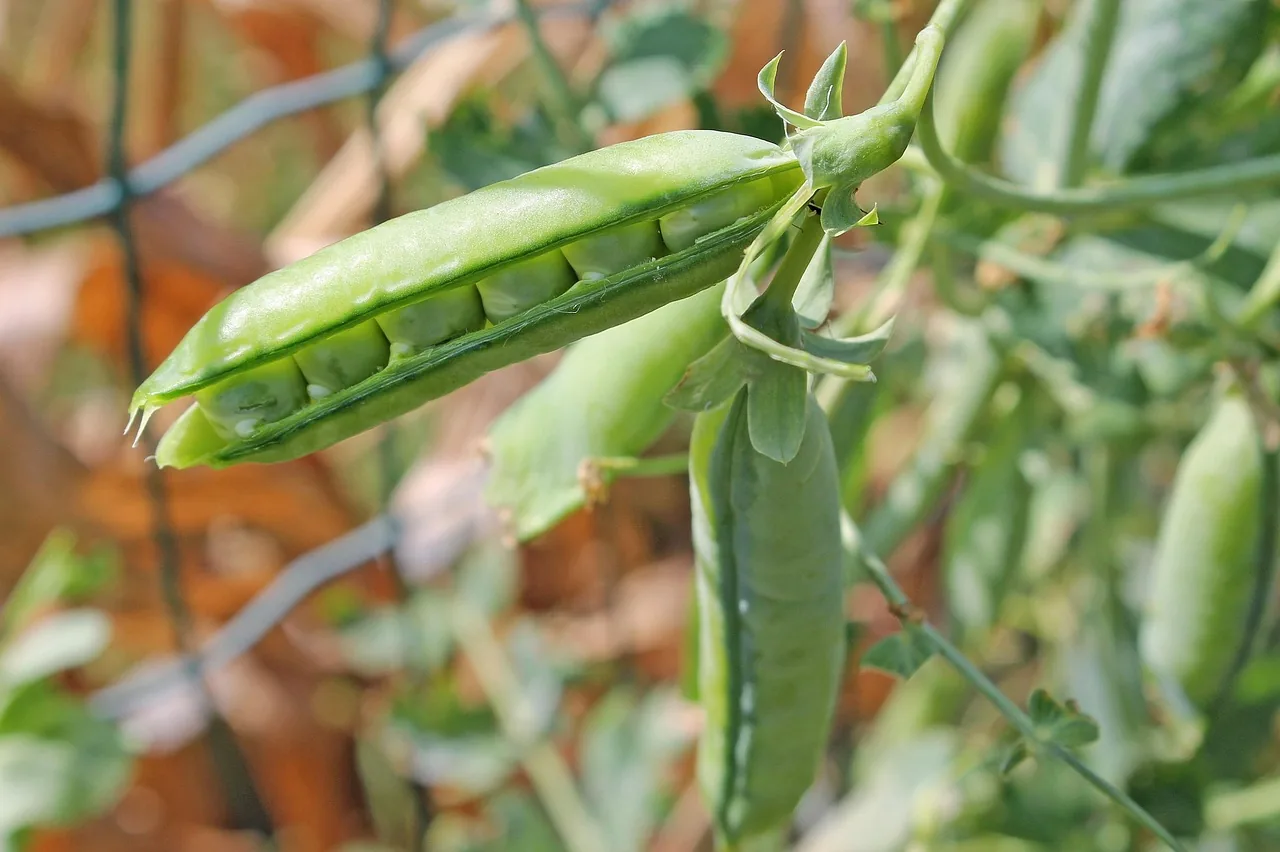
Beans and peas are some of the easiest vegetables to save seeds from. Wait until the pods turn brown and crispy on the plant – they’ll make a rattling sound when you shake them. That’s your signal they’re ready for picking!
Grab the pods on a sunny day (moisture is your enemy here), and spread them out on an old sheet or tarp. You can either open each pod by hand or try the fun way – put the pods in a pillowcase and dance on them! The seeds will pop right out.
Give your seeds a quick check – they should be hard and dry. If they’re still a bit soft, spread them on paper towels for a few more days before storing them in jars or envelopes.
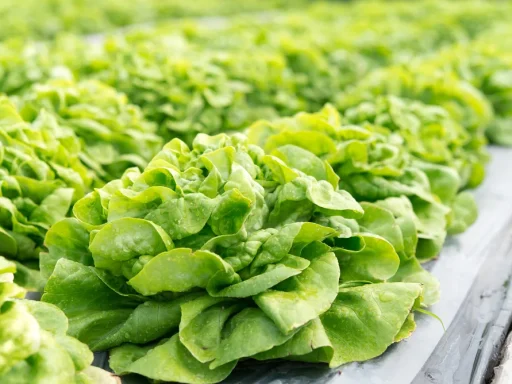
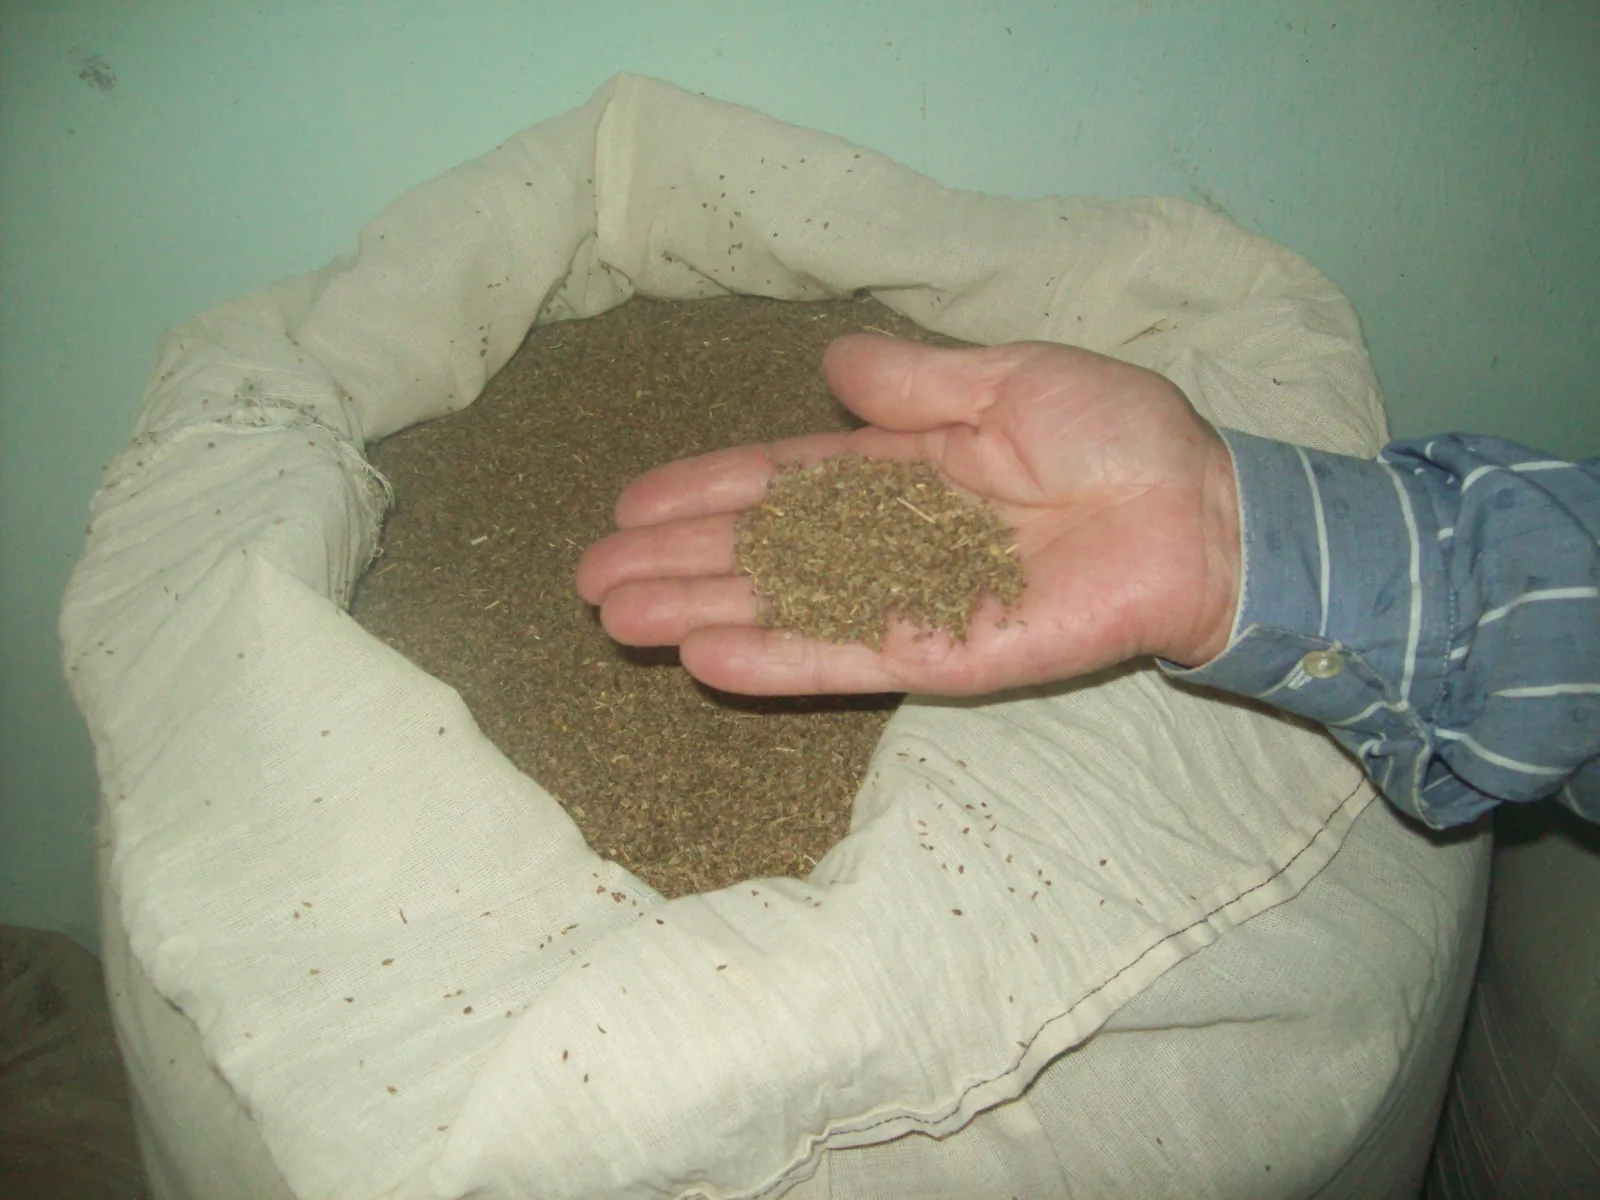
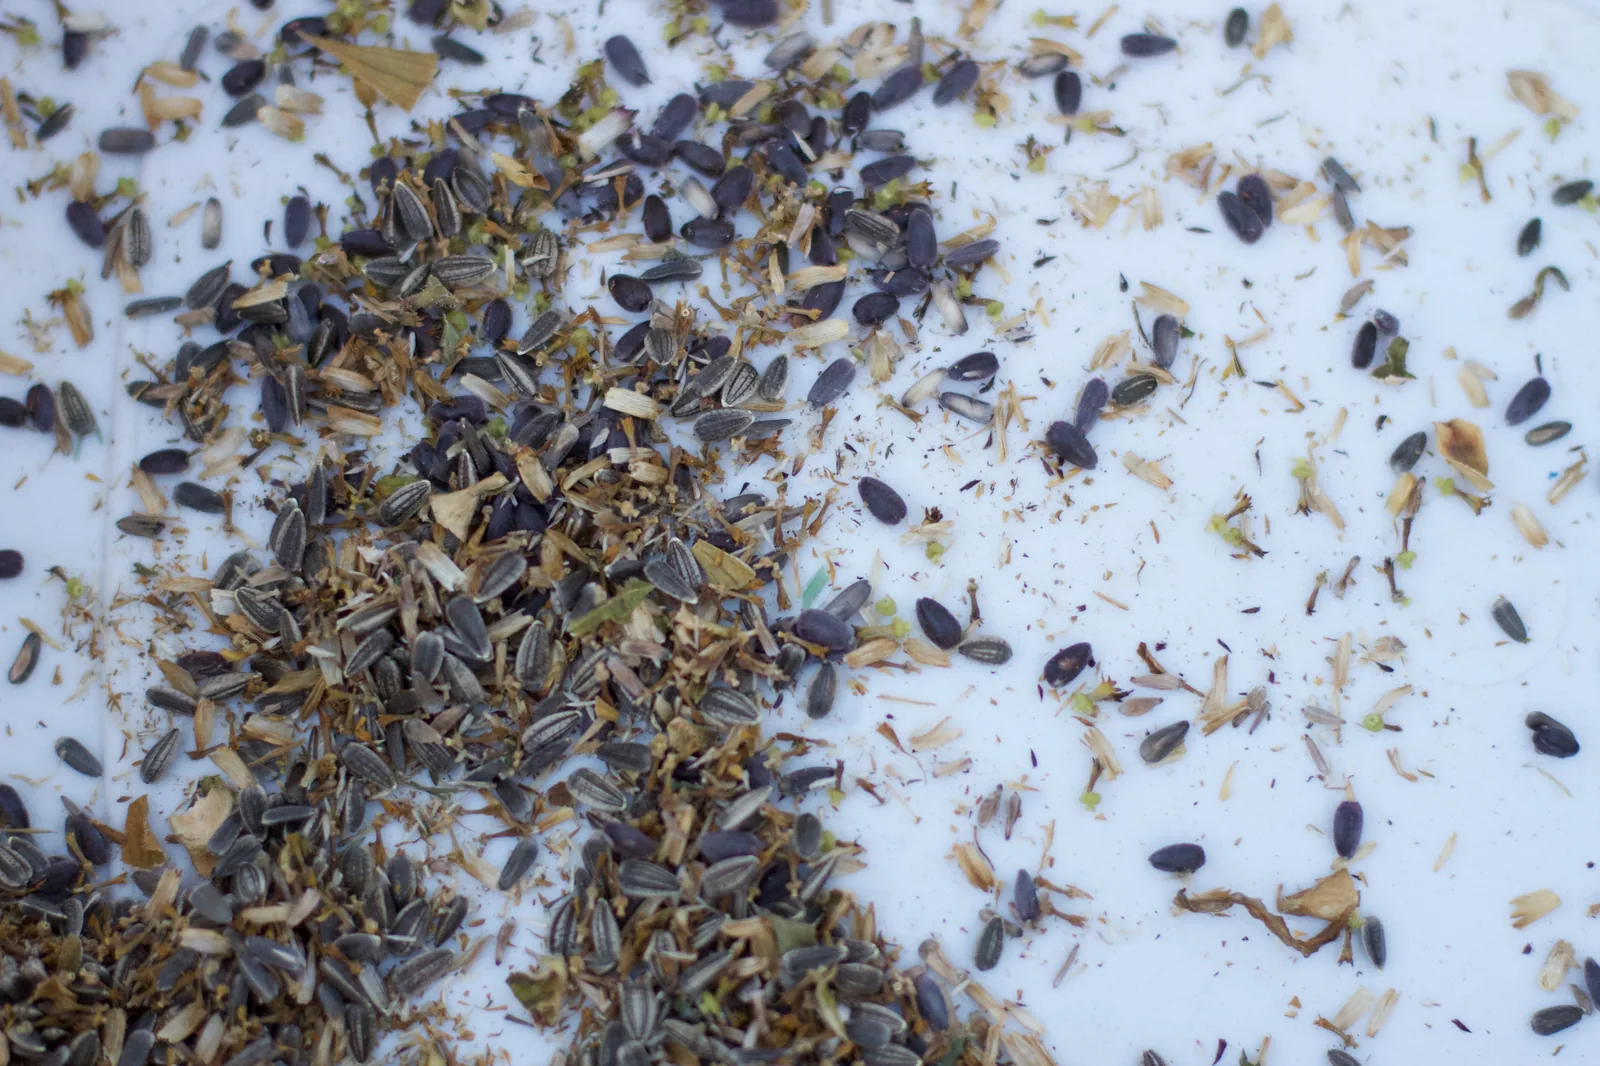
Saving Seeds from Lettuce and Other Leafy Greens

Watch for your lettuce plants to grow tall and sprout yellow flowers – that’s when they’re getting ready to make seeds. The flowers will turn into fluffy white seed heads, similar to dandelions. Once they start looking dry and pale, it’s time to start collecting!
Pop a paper bag over each seed head and tie it loosely around the stem. As the seeds mature, they’ll fall right into your bag.
Here’s a handy trick: harvest in the morning when there’s still a bit of dew – the moisture helps keep those tiny seeds from blowing away in the breeze.
Give your seeds a gentle shake through a fine mesh strainer to remove any plant bits. Let them dry on paper towels for about 5 days before storing them in small envelopes.
Harvesting Seeds from Root Vegetables (Carrots, Beets, Radishes)
Root vegetables need two growing seasons to give you seeds. In their first year, they’ll grow those tasty roots we love to eat. Leave a few plants in the ground over winter (they’ll need some mulch to stay cozy), and watch them send up flower stalks the next spring.
Wait for the seed heads to turn brown and crispy – they’ll look like little umbrellas full of seeds. Snip off the heads on a sunny afternoon and pop them into paper bags. Give them a gentle shake, and the seeds will fall right out.
Spread your cleaned seeds on paper towels until they’re completely dry, about 5 to 7 days. Then store them in labeled jars in a cool spot like your basement.
Collecting Seeds from Eggplants
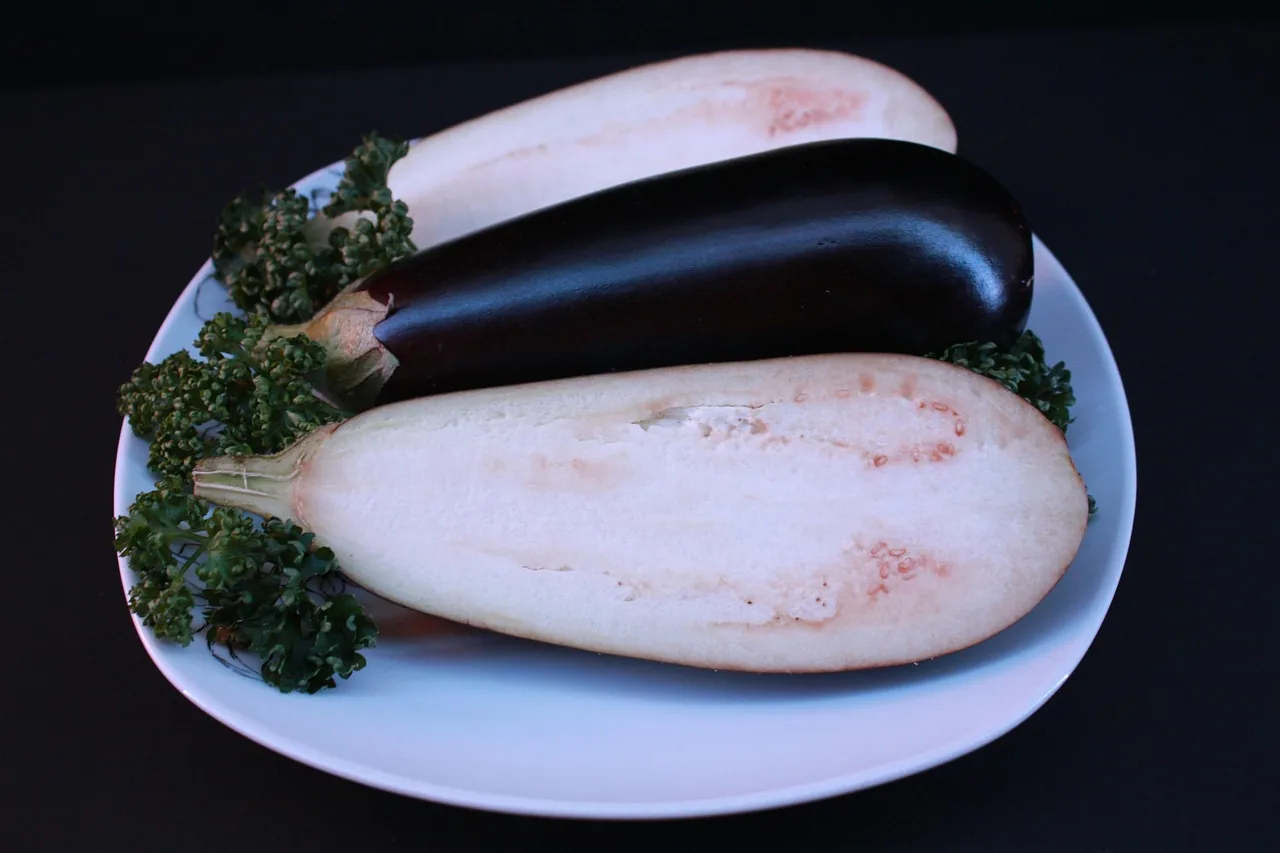
Let your eggplants stay on the plant well past when you’d normally pick them for cooking – they should turn yellow or brown and feel quite soft. Cut them open, and you’ll find plenty of seeds inside ready for collecting.
Pop the seeds into a jar with some water and let them sit on your counter for 2 to 4 days. Give them a daily stir, and you’ll notice the good seeds sink while the duds float. Rinse the good ones in a strainer until the water runs clear.
Spread your clean seeds on paper towels and place them in a sunny window. Once they’re completely dry (about 5 days), store them in a small jar or envelope in your kitchen cupboard.
Saving Seeds from Okra
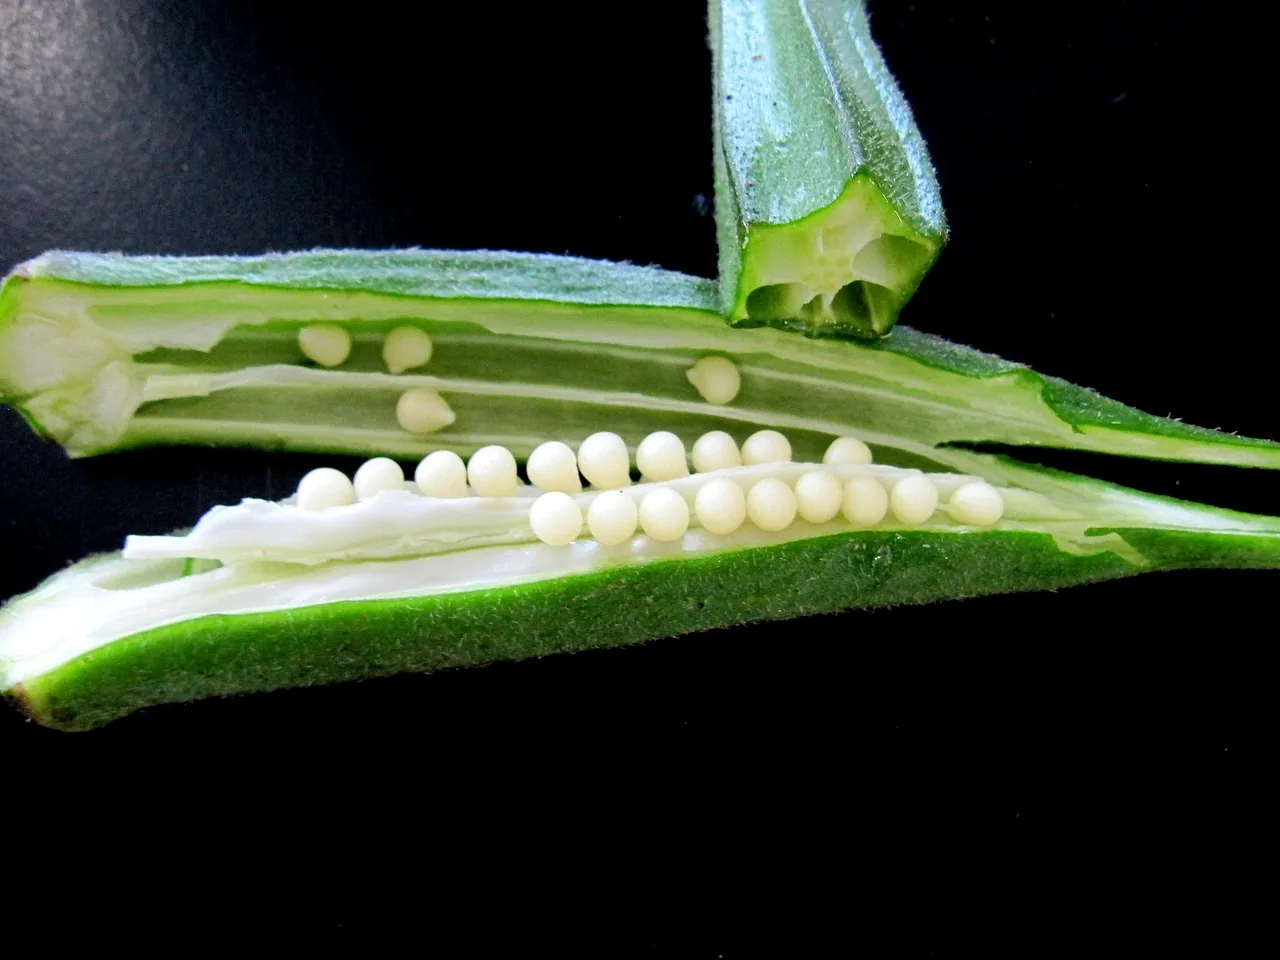
Want an easy vegetable to start your seed-saving journey? Okra’s perfect! Let those pods stay on the plant until they turn brown and start splitting open. You’ll hear the seeds rattling inside when you give them a gentle shake – that’s your signal they’re ready for picking.
Split open the dried pods and pop out those round, dark seeds. If they still feel a bit soft, spread them on paper towels near a sunny window for 3 to 4 days. A good trick is to rub the dried seeds between your hands to remove any remaining bits of pod.
Store your okra seeds in a glass jar or paper envelope in your kitchen cupboard. They’ll stay good for 2 to 3 years if you keep them cool and dry.
Proper Cleaning and Drying Techniques for Seeds
Your seeds need good cleaning and drying to stay viable for next season’s planting. Start with a basic kitchen strainer or colander for wet seeds – it’s perfect for washing away pulp and plant bits under cool running water. For dry seeds, a seed cleaning equipment or old window mesh helps separate seeds from chaff.
Once cleaned, spread your seeds in a single layer on paper towels or old newspapers. Pick a spot with good air movement – near a window works great. Run a small fan on low speed to keep the air moving, but don’t point it directly at your seeds.
Test your seeds’ dryness by trying to bend them – if they snap rather than fold, they’re ready for storage!
Storage Methods for Harvested Seeds
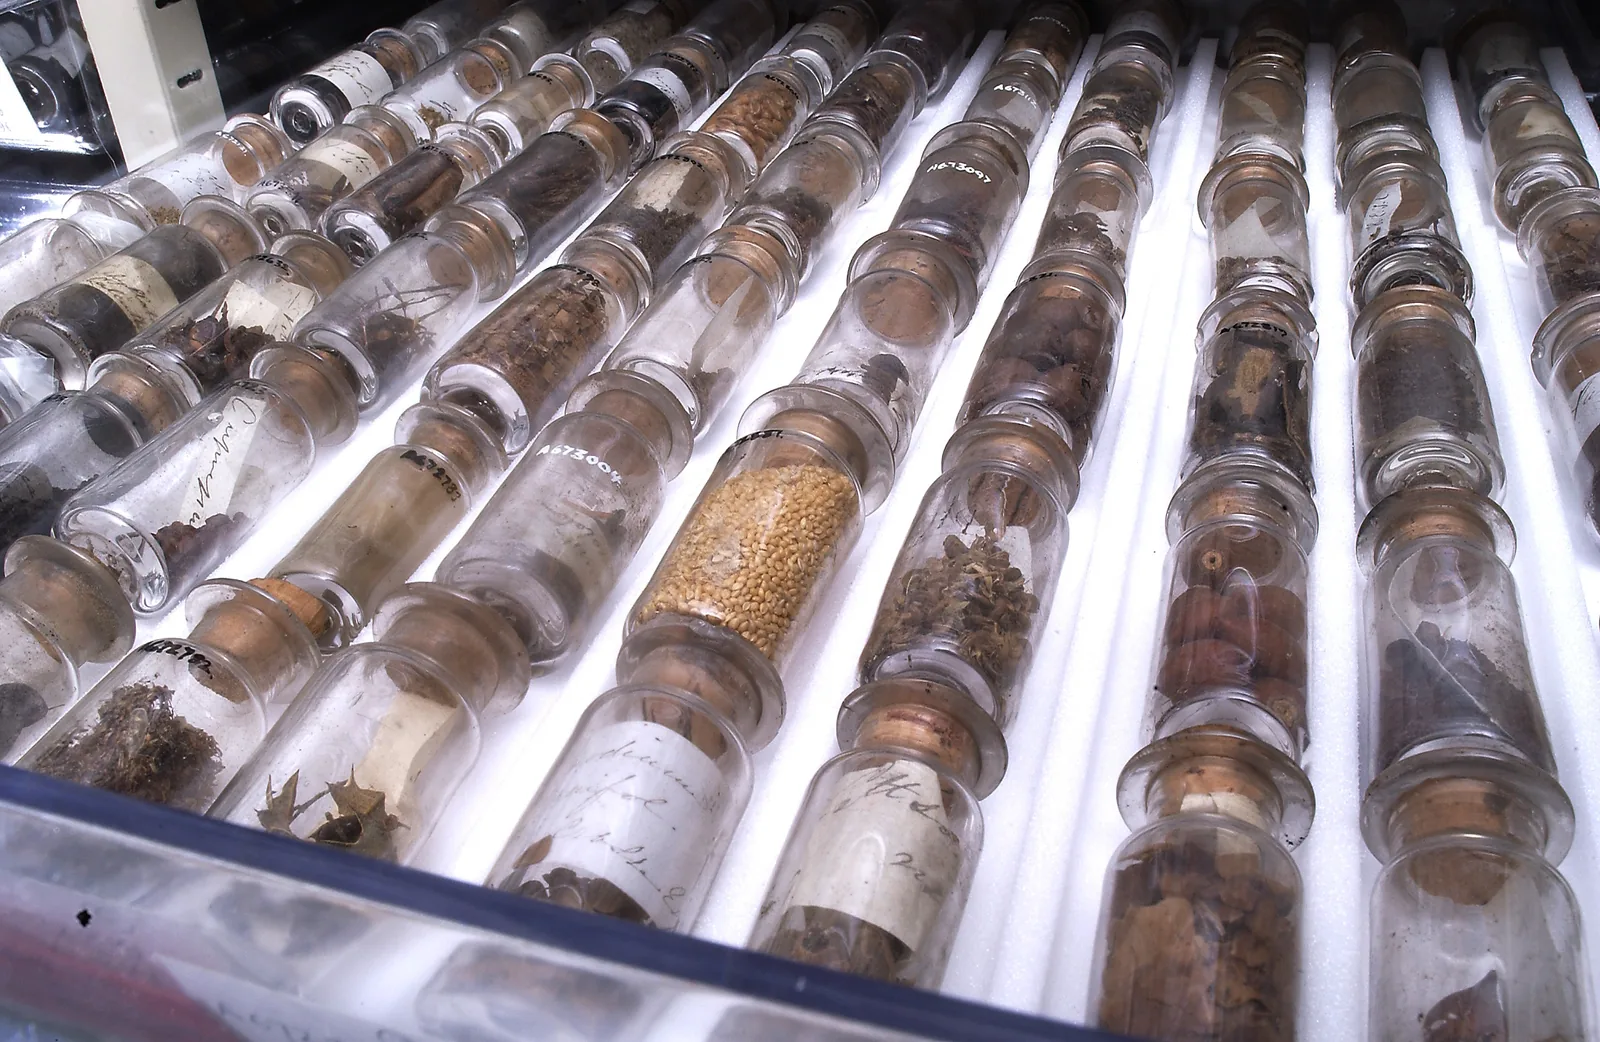
Keep your seeds happy by storing them in clean glass jars or paper envelopes – both work great as long as they’re airtight. Add a small silica gel packet to each container (save those little packets that come with shoes and electronics!). They’ll soak up any extra moisture that could make your seeds go bad.
The best spot for your seed collection? A kitchen cupboard or basement shelf works perfectly. You want a dark place that stays around 50 degrees Fahrenheit with low humidity. If you’ve got room in your fridge, that’s even better for long-term storage.
Label everything clearly with masking tape or sticky labels. Write down the plant name, variety, and when you collected them. A shoebox or plastic container makes a perfect home for all your seed packets – organize them by planting date or plant family to make spring gardening a breeze!
Tips for Maintaining Seed Viability
Start by using your oldest seeds first – most vegetables stay good for 2 to 3 years when stored properly. Check your seed collection every few months and toss any packets showing signs of moisture damage or mold.
Want to test if older seeds will still grow? Place 10 seeds between damp paper towels, roll them up, and pop them in a plastic bag. Keep them warm (around 70 degrees Fahrenheit) and check after a week. If at least six seeds sprout, you’ve got good seeds for next season!
Keep your storage area’s temperature steady – frequent changes from hot to cold can harm your seeds. A kitchen cupboard or basement shelf works great, as long as it stays cool and dry. Just remember to keep them away from windows – sunlight’s not your friend when storing seeds!
Common Mistakes to Avoid When Harvesting Seeds
Taking seeds from hybrid plants is probably the biggest mistake new seed savers make – those seeds won’t grow into plants that match their parents. Instead, look for “heirloom” or “open-pollinated” seeds.
Don’t pick seeds too early! Green or soft seeds won’t grow well next year. Wait until they’re completely mature – usually when fruits are past ripe and seeds have turned brown.
Watch out for moisture during storage – damp seeds quickly turn moldy. Give them plenty of drying time before putting them away. And always label your containers right away – you might think you’ll remember what’s what, but come spring, those mystery seeds won’t help your garden plans!
Keep your seeds in paper envelopes or glass jars, not plastic bags, which can trap moisture and spoil your harvest.
Planning for Next Year’s Garden Using Saved Seeds
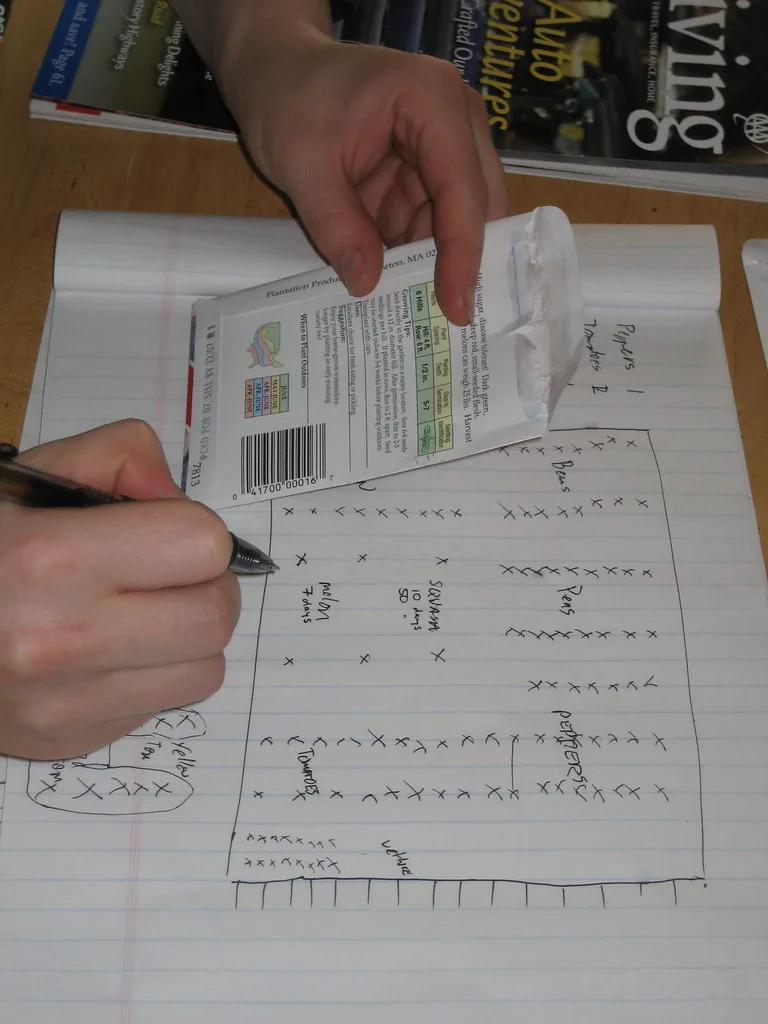
Count your seeds and match them to your garden space – you’ll need about 2 to 3 seeds per planting hole, plus extra for any that don’t sprout. For a family of four, plan on 4 to 5 tomato plants, 8 to 10 pepper plants, and a 15-foot row of beans.
Move your crops to different spots each year to keep your soil healthy. Plant heavy feeders like tomatoes where peas grew last season – they’ll love the extra nitrogen in the soil.
Try this rotation: leafy greens → root vegetables → fruiting plants → legumes.
Before spring arrives, collect and store seeds between damp paper towels to check if they’ll grow. If less than half sprout, you’ll want to get fresh seeds or plant extra thick.
Share your extra seeds with garden club friends or your local seed library. You might get some interesting varieties in return!
The Future of Your Garden Starts with Seeds
Harvesting your own seeds is more than just a money-saving garden hack – it’s a way to take control of your food future. By selecting seeds from your best-performing plants, you’re gradually creating a garden that’s perfectly suited to your unique growing conditions and tastes.
Remember, every seed you save carries the story of your garden forward to next season. With proper collection, cleaning, and storage techniques, you’re not just preserving seeds – you’re preserving possibilities. So grab those tools and start your seed-saving journey – your future garden will thank you!