Did you know that some of the tiniest seeds can produce the most abundant harvests? From quick-growing radishes that sprint from seed to plate in just 20 days, to towering sunflowers that transform into natural bird feeders, growing edible seeds is like having a magical pantry right in your backyard.
Whether you’re a complete beginner or just looking to expand your garden repertoire, starting with edible seeds is incredibly rewarding. I’ll show you exactly how to turn those tiny powerhouses into a flourishing garden that’ll keep your kitchen stocked with fresh, homegrown goodness throughout the season.
Getting Started with Edible Seeds
Easy Seeds for Beginners
You’ll love starting with radishes – they’re practically foolproof and ready to harvest in just 20 to 30 days! I always recommend these to first-time gardeners because you’ll see results quickly (they’ll pop up in 5 to 10 days), which is incredibly motivating when you’re just getting started.
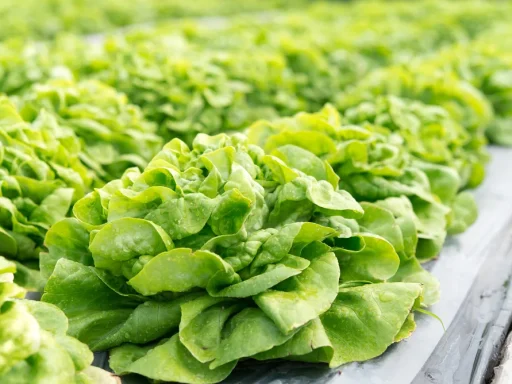
Lettuce and spinach are other fantastic choices for your edible garden. They’re not fussy at all, and you can keep harvesting the outer leaves while letting the inner ones continue growing. That’s what I call getting more bang for your buck! There are many lettuce varieties to choose from for your kitchen garden!
For something a bit more dramatic, try sunflowers or pumpkins. They’re surprisingly easy to grow and make quite a statement in your garden. Beans and peas are brilliant too – the seeds are large enough for little hands to handle, and they’re not too picky about growing conditions.
Reading Your Seed Packets
Here’s a pro tip: always check the back of your seed packet for vital info. You’ll want to note three key things:
- How deep to plant (radishes go about half inch deep, while lettuce just needs a light soil covering)
- How far apart to space them (most edible seeds need 1 to 2 inches between plants)
- How long they’ll take to sprout.
Don’t worry too much about getting everything perfect – these beginner-friendly veggies are pretty forgiving. Just make sure you’ve got well-draining soil and plenty of sunlight, and you’ll be harvesting your own food before you know it!
Preparing the Soil
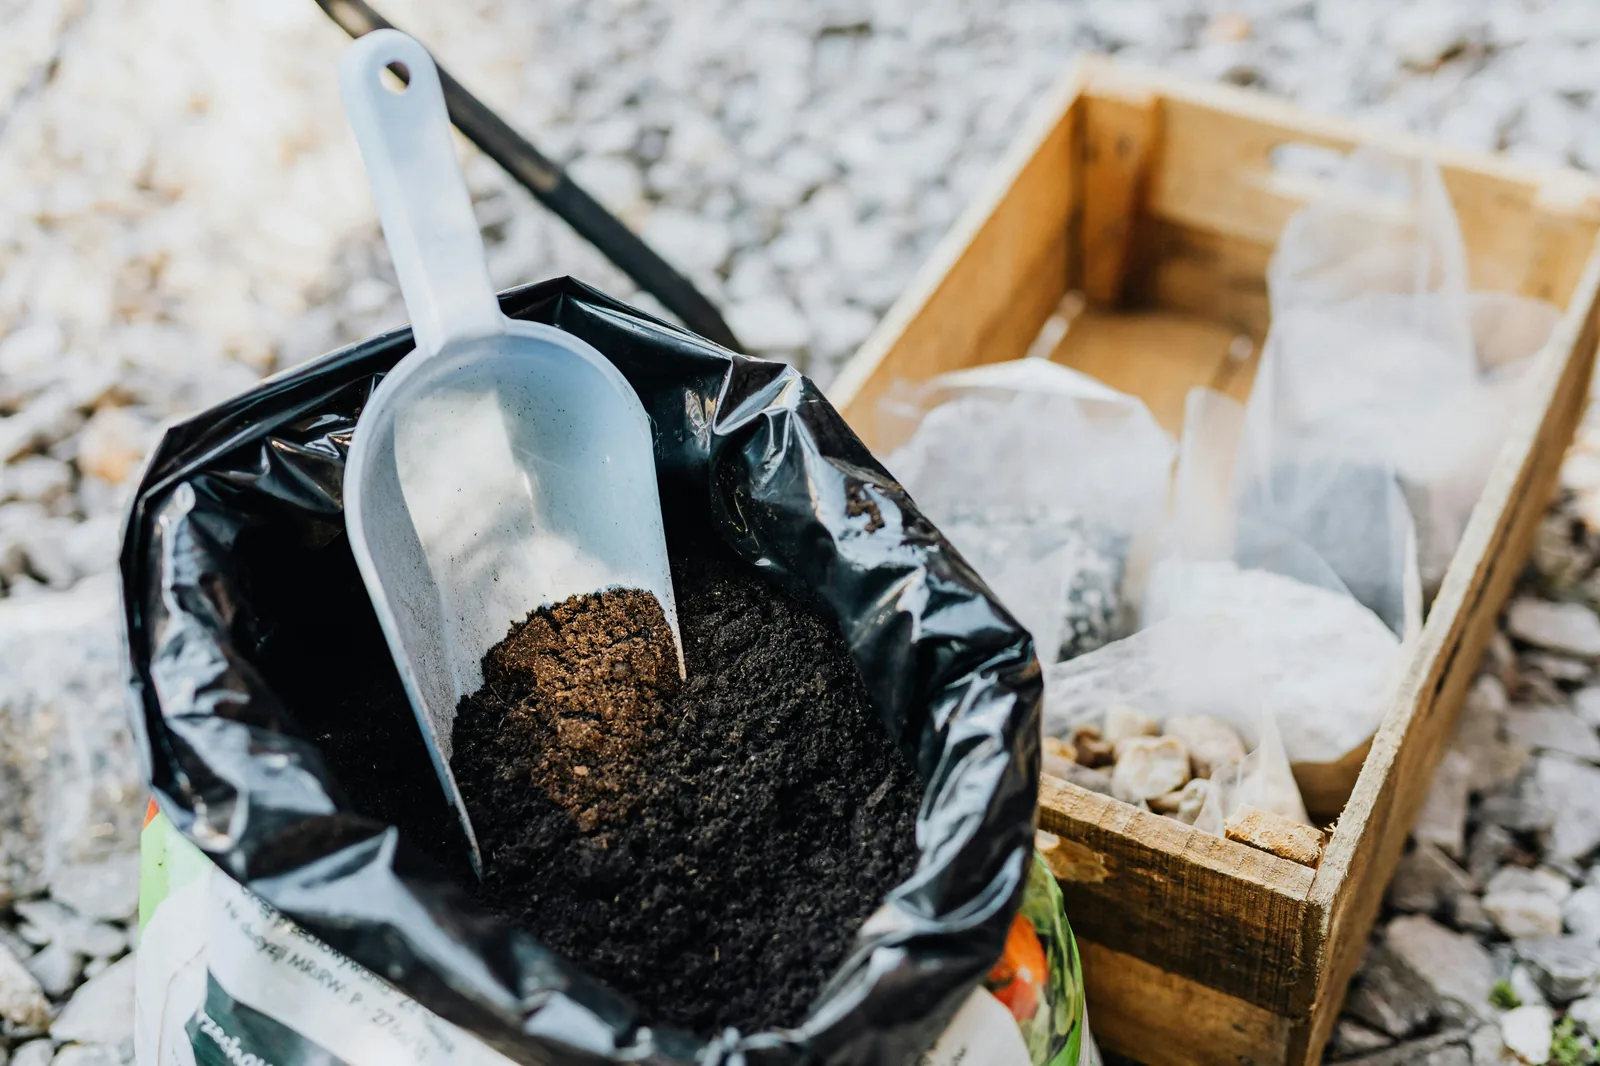
Getting Your Soil Just Right
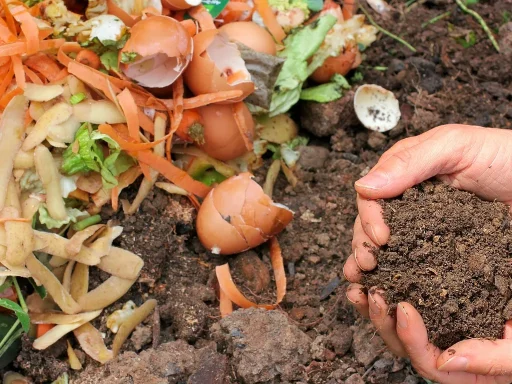
The secret to growing amazing edible seeds starts with your soil mix. I always recommend using a well-draining garden soil enriched with compost – it’s like giving your seeds a five-star hotel to grow in! Most edible seeds aren’t too fussy, but they’ll thrive in soil with a pH between 6.0 and 7.0.
Before planting, I like to work some organic matter into the soil. A good handful of compost per square foot does wonders! If you’re starting from scratch, mix in some organic topsoil to give your plants the nutrients they need right from the start.
Keeping Your Soil Happy
Here’s a little trick I’ve learned over the years: maintain consistent moisture in your soil, but avoid making it soggy. Think of it like a wrung-out sponge – damp but not dripping. I check the moisture level daily by sticking my finger about an inch into the soil – if it feels dry at that depth, it’s time to water.
Keep feeding your soil throughout the growing season by adding a thin layer of compost every few weeks. It’s like giving your garden a regular vitamin boost! Your edible seeds will reward you with stronger growth and better harvests. Trust me, a little extra attention to your soil now will pay off big time when harvest season rolls around.
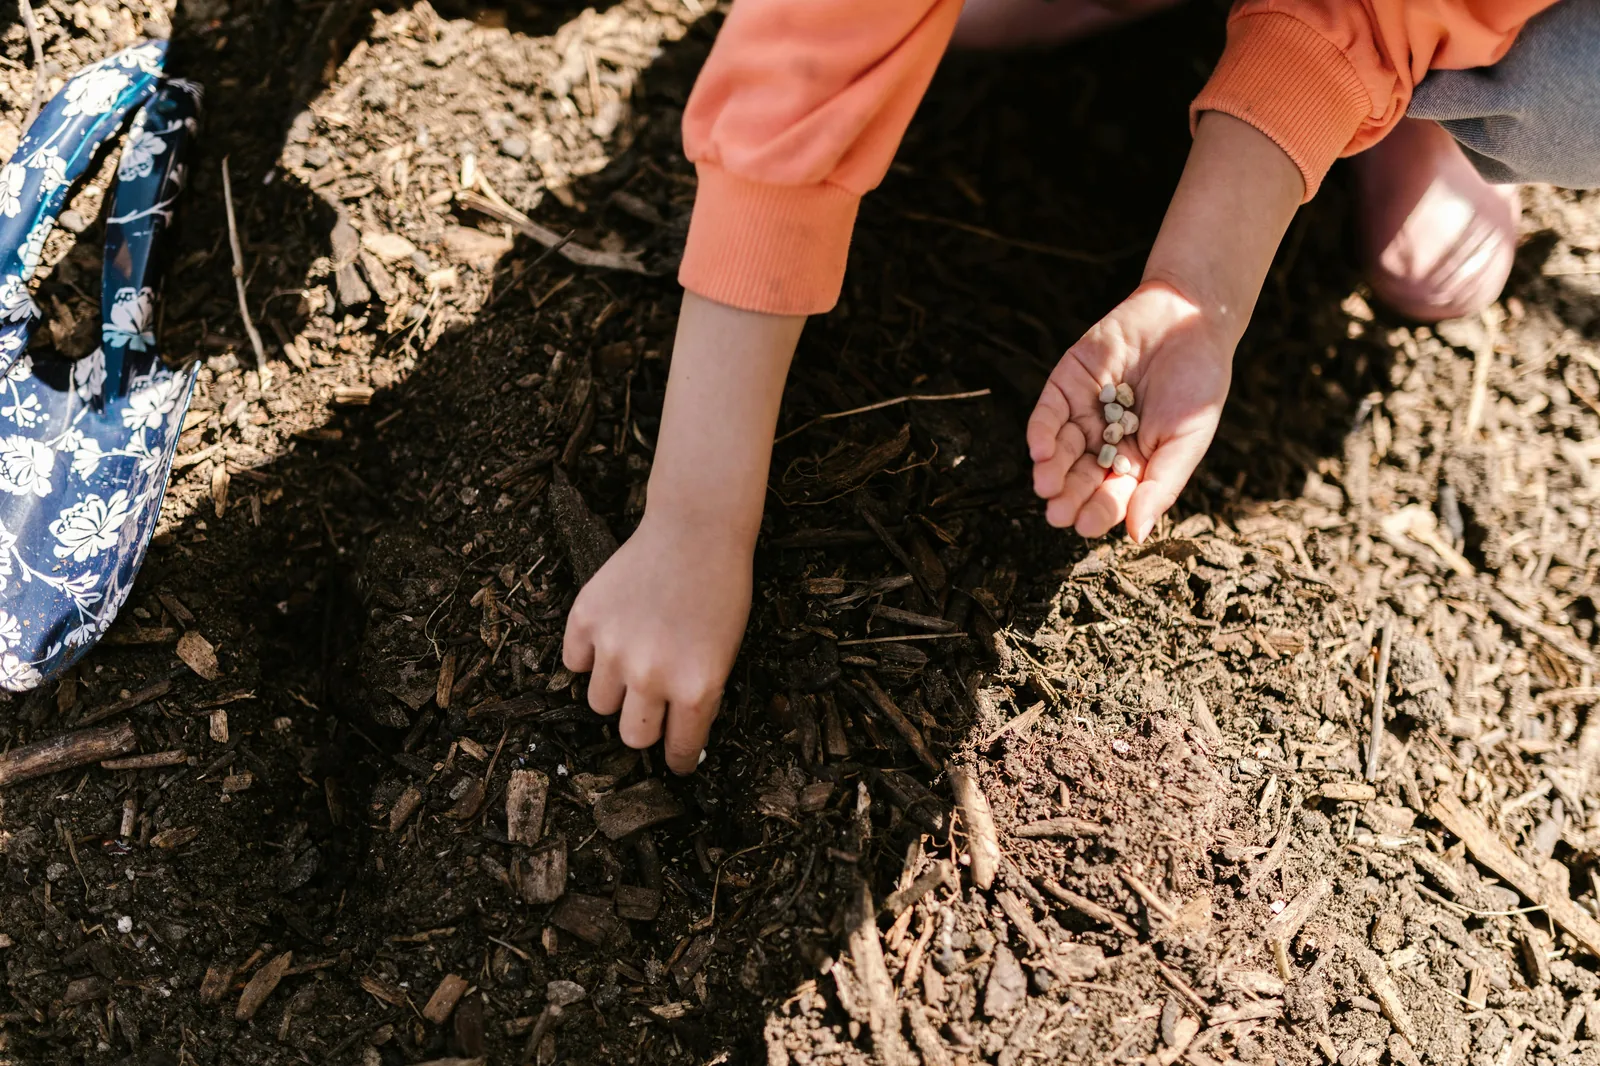
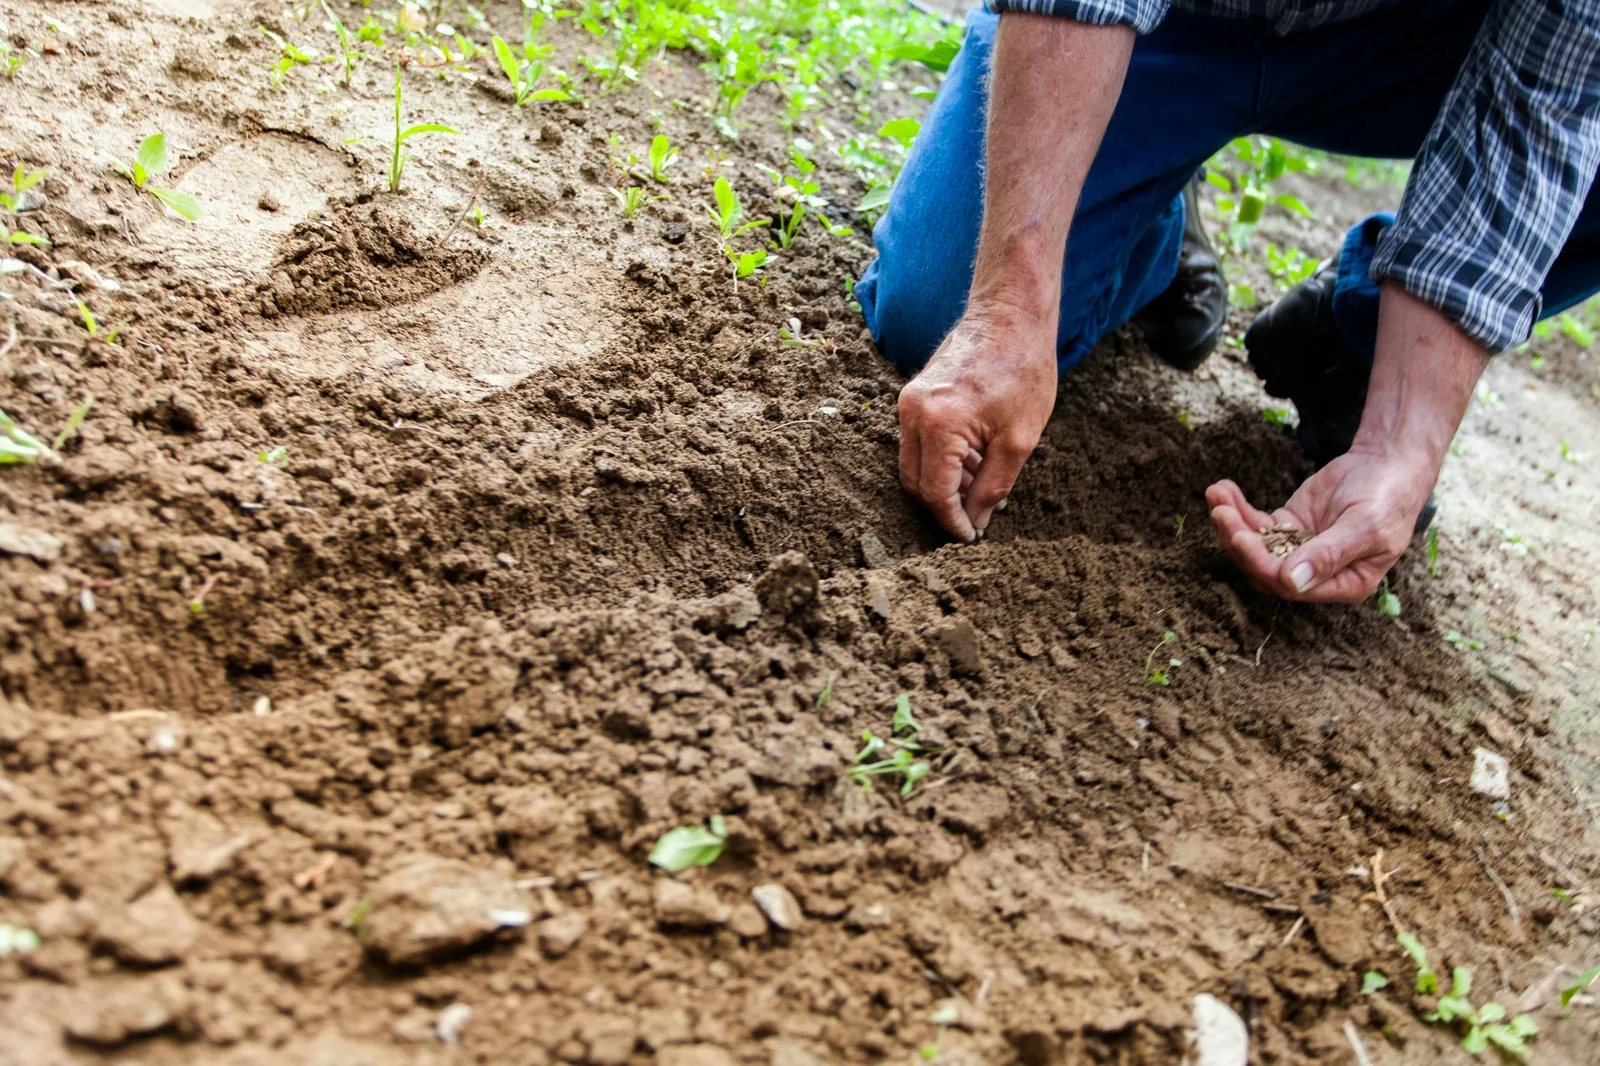
Planting Seeds
Starting Indoors vs Outdoors
Got spring fever? Start your seeds indoors 2 to 4 weeks before the last frost date. I always use seed trays with good drainage holes and fill them with quality potting mix. For outdoor planting, wait until your soil warms up – most edible seeds love soil temperatures around 65 degrees Fahrenheit.
Pro tip: If you’re starting lettuce or radishes outdoors, you can actually begin planting them about 2 to 4 weeks before the last frost. They’re quite hardy little fellows!
Getting the Depth Just Right
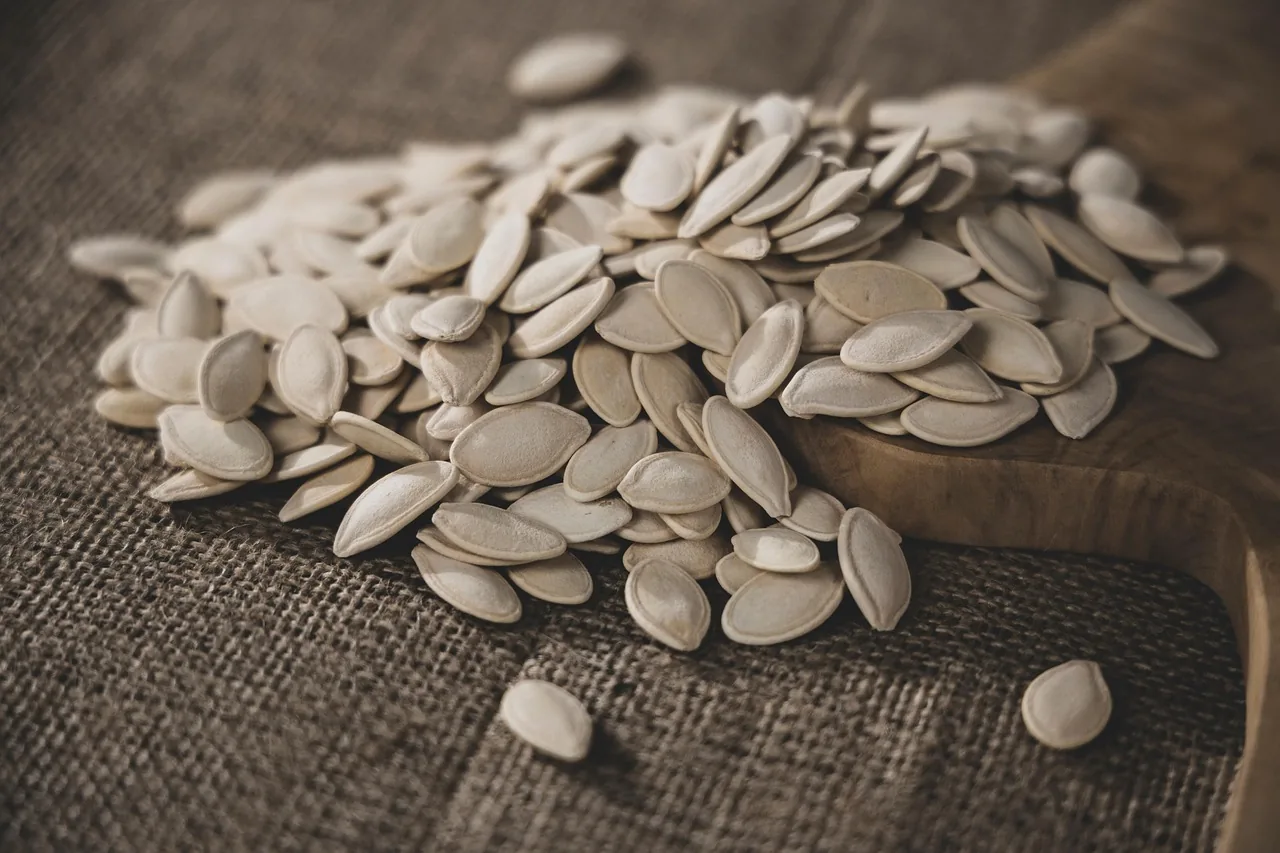
Here’s my foolproof approach to seed depth: larger seeds need deeper holes. Beans and peas like to be about an inch deep, while tiny lettuce seeds just need a light dusting of soil. For sunflowers, I dig a one-inch hole and space them about 6 inches apart – they’ll need room to grow into those gorgeous blooms!
Watering Your New Seeds
The trickiest part about watering newly planted seeds is keeping the soil consistently moist without washing them away. I use a spray bottle or watering can with a fine rose attachment to give them a gentle shower. Keep the top layer of soil damp during that crucial first week – that’s when all the magic happens underground!
Remember to check your seedlings daily – they’ll tell you what they need. If the soil feels dry to the touch, it’s time for another gentle watering. Your edible garden will be sprouting before you know it!
Providing Optimal Conditions
Let There Be Light!
Your edible seeds need plenty of light to thrive, and I’ve found that a sunny windowsill works brilliantly for most varieties. If you’re starting seeds indoors, choose a south-facing window that gets at least six hours of direct sunlight daily. Don’t have enough natural light? No worries! A simple grow light positioned about 6 inches above your seedlings will do the trick.
Temperature Matters
Here’s something I’ve learned through experience: different edible seeds have their own temperature sweet spots. Radishes and lettuce are cool customers – they’ll happily germinate in temperatures between 40 to 65 degrees Fahrenheit. But if you’re growing beans or peas, they prefer things a bit warmer, around 65 to 75 degrees Fahrenheit. I keep a small thermometer nearby to monitor conditions.
The Moisture Balance
Getting the moisture level right can be tricky, but I’ve got a simple test for you: stick your finger about an inch into the soil. It should feel like a well-wrung sponge – moist but not waterlogged. I check my seedlings every morning (with coffee in hand!) and water only when the top inch feels dry. A light misting is usually better than a heavy soak.
Pro tip: Place a clear plastic dome or wrap over your seed trays to maintain humidity during germination. Just remember to remove it once your edible seeds emerge – they’ll need good air circulation to prevent damping off!
Care and Maintenance
Watering Your Edible Garden
The key to happy plants is consistent watering – I’ve found early morning is best, before the sun gets too strong. Check your plants daily by pressing your finger about an inch into the soil. If it feels dry at that depth, it’s time to water! I always water at the base of the plants to keep leaves dry and prevent fungal issues.
Feeding Your Plants
Even the easiest edible seeds need a bit of nutrition to thrive. I give my plants a monthly treat with a balanced liquid fertilizer – just dilute it according to the package instructions. If you’re going organic (like I do), compost works brilliantly! Just steep some compost in water overnight and use the “tea” to feed your plants.
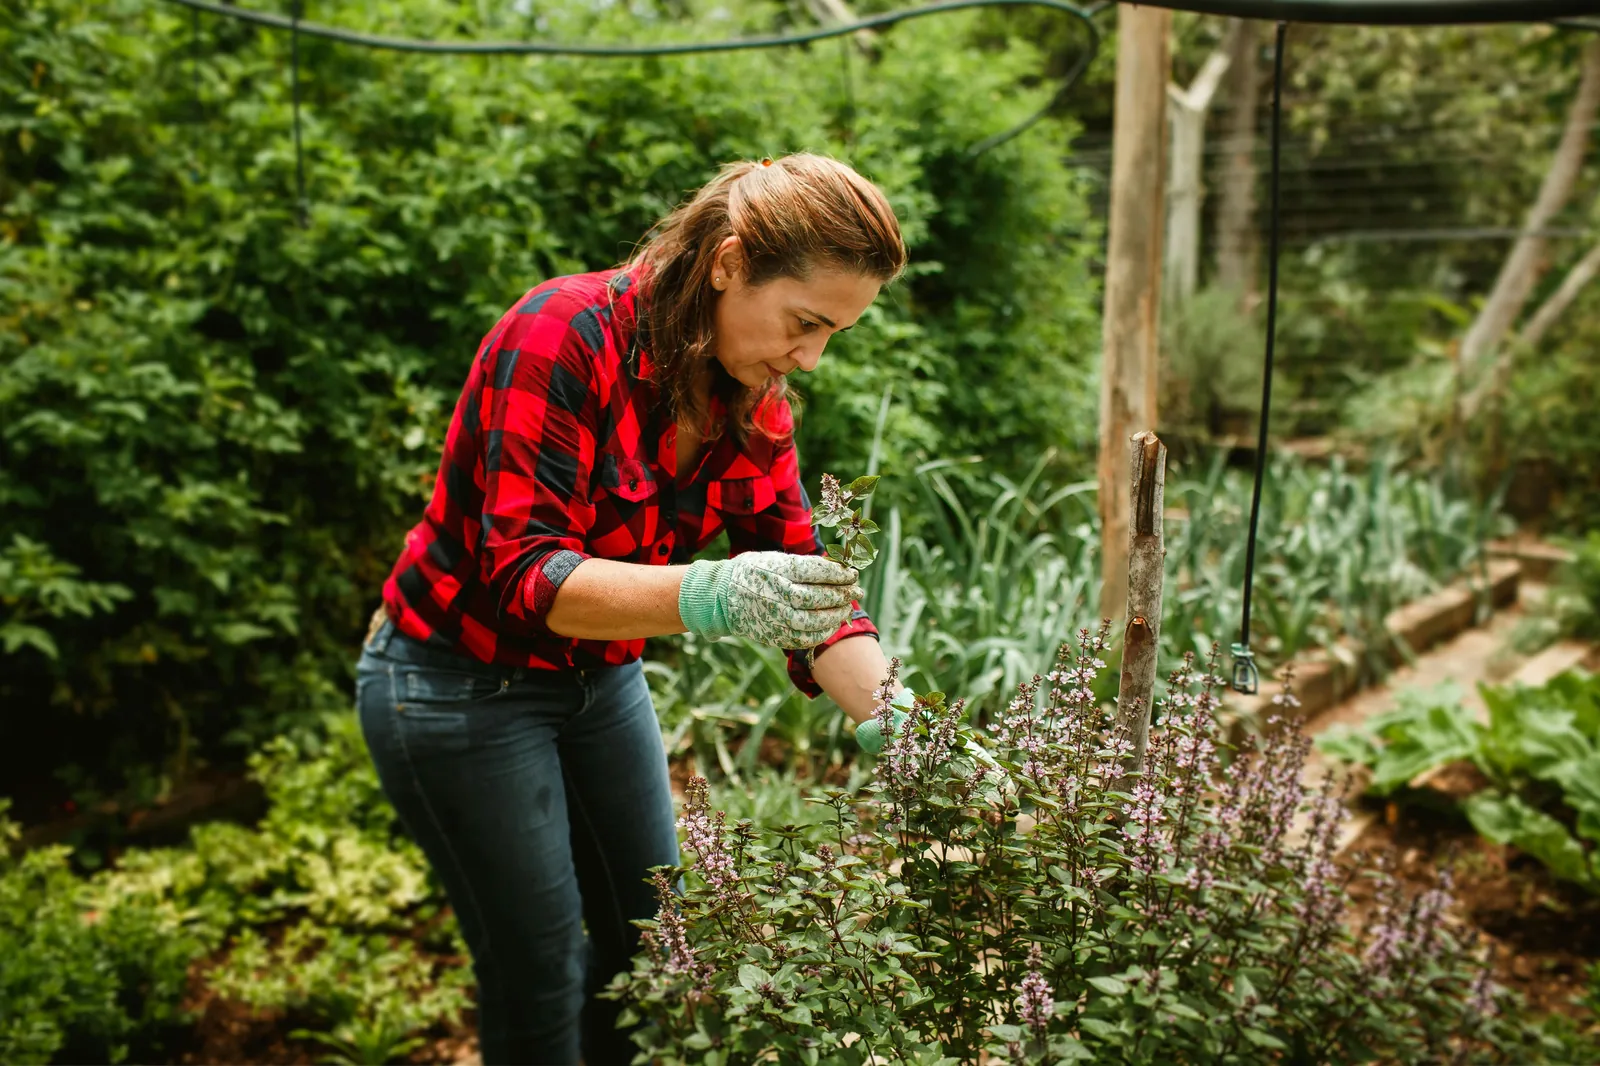
Pruning for Success
Here’s a little secret I’ve discovered: regular pruning actually encourages better growth. For leafy greens like lettuce and spinach, I harvest the outer leaves regularly while letting the center continue growing. With climbing vegetables like peas and beans, pinch off the growing tips when they reach your desired height to encourage bushier growth.
Pro tip: Keep an eye out for yellow or damaged leaves and remove them promptly – this helps redirect energy to healthy growth and prevents diseases from spreading. Your edible garden will reward you with continual harvests if you show it a little TLC!
Common Challenges and Solutions

When Seeds Are Slow to Sprout
Don’t panic if your edible seeds seem a bit sluggish! I’ve found that slow germination usually comes down to temperature or moisture. If your radishes haven’t popped up within 10 days, try moving them to a warmer spot or using a heating mat underneath. For moisture issues, cover your seed trays with clear plastic to create a mini-greenhouse effect.
Dealing with Garden Pests
Those pesky slugs and snails love tender seedlings just as much as we do! I’ve had great success placing copper tape around my containers or sprinkling diatomaceous earth around plants. For flying pests, I hang yellow sticky traps nearby – they’re fantastic for catching whiteflies and aphids before they become a problem. You can even try using eggshells in your garden to deter pests. Planting marigolds will also help deter moles from your garden!
Disease Prevention
The best defense is a good offense! I always ensure proper air circulation between plants (yes, those spacing guidelines on seed packets really matter). If you notice any leaves with spots or unusual coloring, remove them right away. I’ve learned that watering at soil level rather than overhead dramatically reduces fungal issues in my edible garden.
Pro tip: Keep a garden journal to track what works and what doesn’t. When I noticed my lettuce struggling last season, I realized the soil was too compact. A quick fix with some compost worked wonders! Remember, even experienced gardeners face challenges – it’s all part of the growing journey.
Growth Timelines and Expectations

Tracking Your Garden’s Progress
I love keeping a simple garden journal to track my edible seeds’ progress – it’s amazing how quickly things change! I note down sowing dates and check off key milestones like first sprouts and true leaves. A quick photo every few days helps me spot gradual changes I might otherwise miss. Trust me, you’ll want these records when planning next season’s garden!
What to Expect and When
Different edible seeds have their own growth patterns. Radishes are my go-to for quick results – they’ll pop up in 5 to 10 days and be ready for your salad bowl in just 20 to 30 days! Easy crops for beginners like lettuce follows close behind, sprouting within a week and ready for baby leaf harvesting in about 30 days.
For longer-term satisfaction, pumpkins take about 100 days from seed to harvest, but watching those tiny seeds transform into massive vines with giant fruits is absolutely worth the wait! Sunflowers are another favorite – they’ll tower above you in about 80 days, bringing plenty of drama to your garden.
Setting Realistic Goals
Here’s something I always tell new gardeners: every seed grows at its own pace! Don’t worry if your neighbor’s lettuce sprouted a day before yours – factors like soil temperature, moisture, and even the phase of the moon can affect germination times. Focus on providing consistent care, and your edible garden will reward you with fresh, homegrown produce right on schedule.
Pro tip: When you’re just starting out, mix quick-growing seeds like radishes with slower varieties. You’ll get regular harvests while waiting for those longer-term crops to mature!
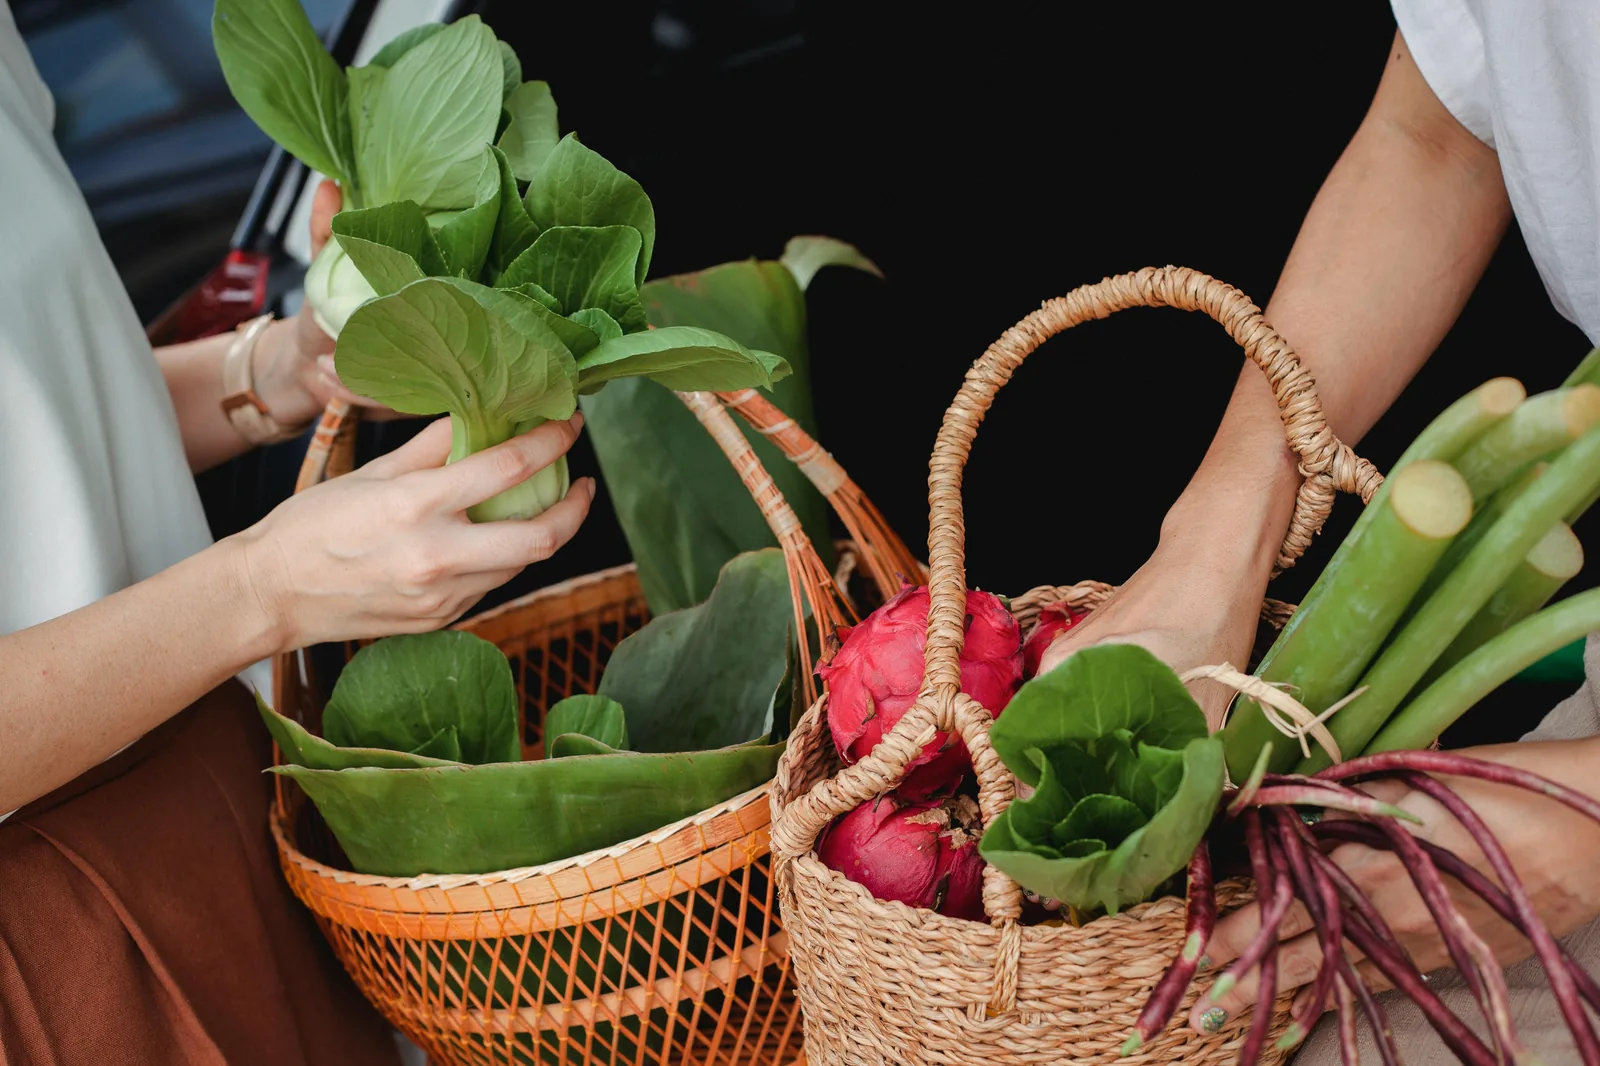
Harvesting Edible Seeds
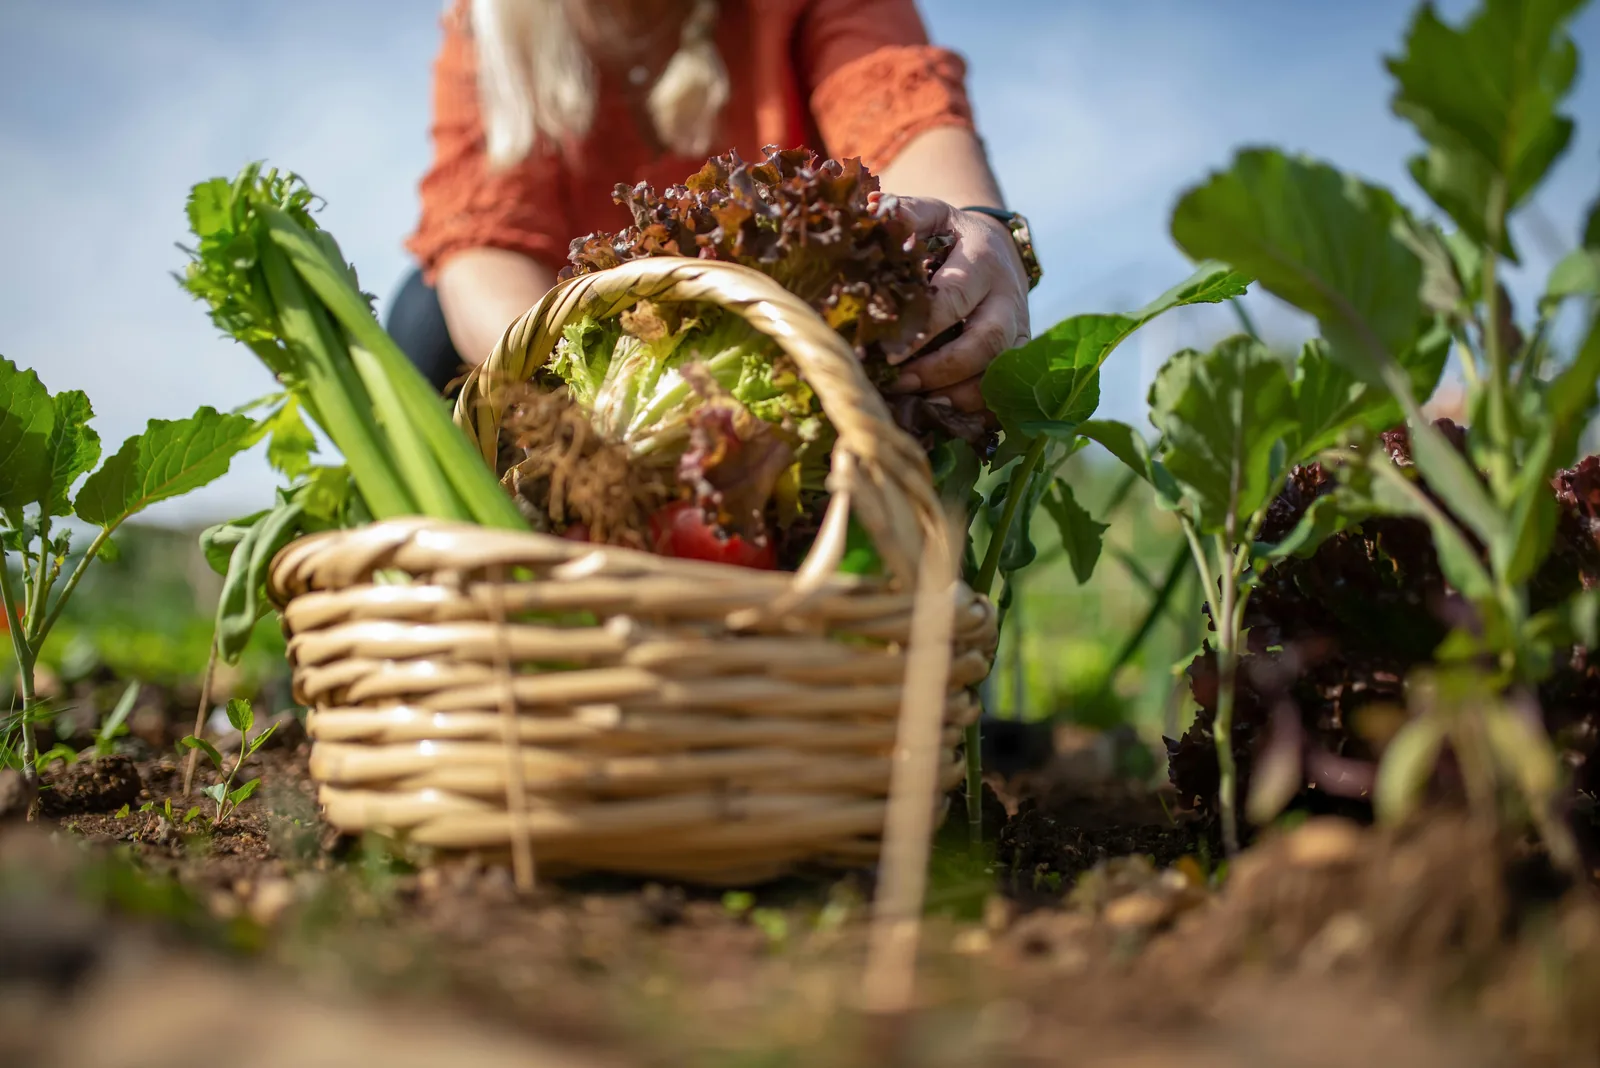
Knowing When to Harvest
The secret to perfect harvesting is knowing exactly when your edible seeds are ready. For radishes, I gently brush away a bit of soil – they’re perfect when they’re between marble and golf ball size. With lettuce, I start harvesting the outer leaves when they’re about 4 inches long, leaving the center to keep producing delicious new growth.
Harvesting Techniques That Work
I’ve learned that timing is everything! For leafy greens, I harvest in the cool morning hours when leaves are crisp and full of moisture. Always use clean, sharp scissors or pruners – this prevents damage to the plant and encourages new growth. When harvesting veggies like beans and peas, I pick them regularly to keep the plants producing.
Extending Your Harvest Season
Here’s my favorite trick for a continuous harvest: I sow short rows of quick-growing crops like lettuce and radishes every three weeks. This succession planting means I’m never overwhelmed with too much produce at once, and there’s always something ready to pick! For larger crops like sunflowers, I stagger plantings two to three weeks apart to enjoy blooms (and edible seeds!) all season long.
Pro tip: Keep some plants growing a bit longer than others – letting a few radishes or lettuce plants go to seed means you’ll have free seeds for next season! Plus, watching the entire life cycle of your crops is incredibly rewarding.
Additional Tips for Beginners
Recording Your Garden Journey
I always tell new gardeners to start a simple garden diary – it’s been a game-changer for my edible seed growing! I use my phone to snap quick photos of seedlings and jot down sowing dates in a notebook. Trust me, you’ll thank yourself next season when you can look back and know exactly when to plant those crops for the best blooms.
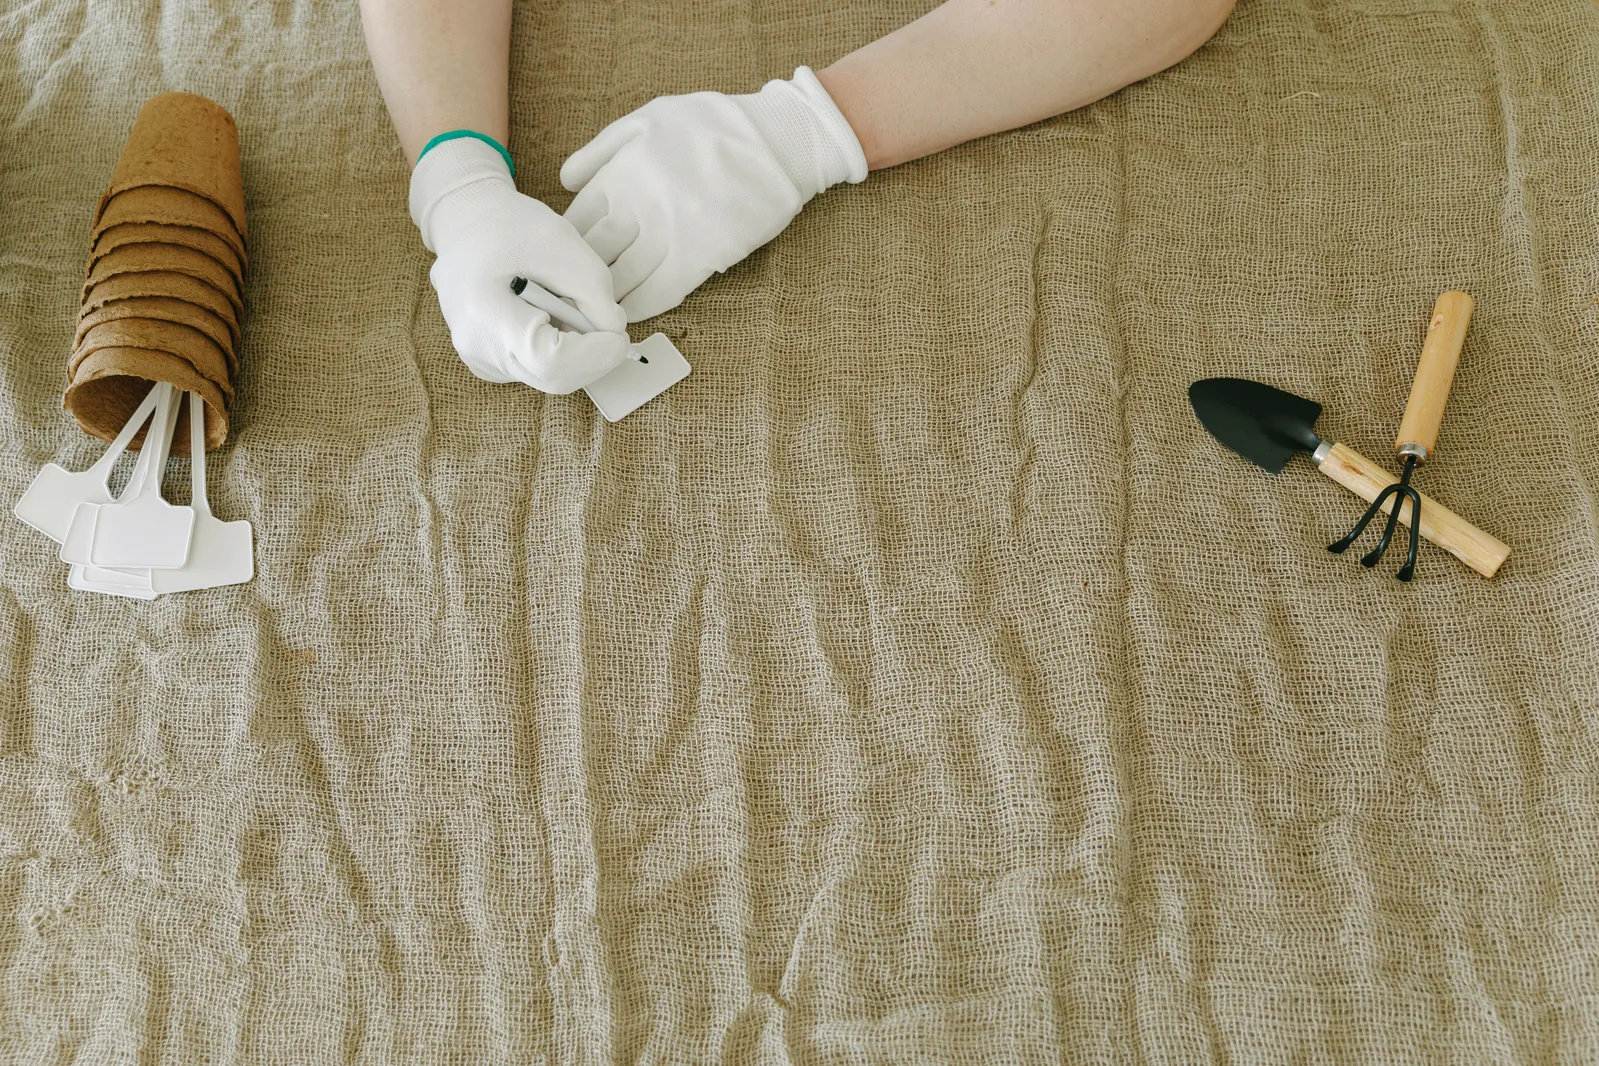
Essential Tools to Get Started
You don’t need fancy equipment to grow amazing edible seeds! I started with just three must-haves: a sturdy trowel for planting, a watering can with a fine rose attachment (perfect for delicate seedlings), and some basic seed trays. If you’re starting indoors, add a spray bottle to your toolkit – it’s brilliant for keeping soil moist without washing away your seeds.
Simple Pest Protection
Let’s talk about keeping those pesky garden visitors at bay! I’ve found that a ring of crushed eggshells around seedlings works wonders for deterring slugs and snails. For an extra layer of protection, I place small copper tape barriers around my containers – slugs hate crossing them! If you spot aphids on your plants, a quick spray with diluted neem oil usually does the trick.
Pro tip: Cut the bottoms off plastic bottles to create mini-greenhouses for your seedlings – they protect from pests and create perfect growing conditions. Plus, it’s a great way to recycle!
Seasonal Considerations
Planning Your Planting Calendar
I’ve found that timing is everything when growing edible seeds! For spring planting, I start cool-season favorites like lettuce and spinach as soon as the soil can be worked. You’ll want to get these in about 2 to 4 weeks before the last frost date. Come summer, I switch to heat-loving seeds like sunflowers and pumpkins – they absolutely thrive in those warm temperatures.
Adapting to Weather Changes
Here’s a little trick I use: I always keep an eye on the weather forecast and adjust accordingly. During hot summer spells, I provide afternoon shade for my lettuce and spinach to prevent them from bolting. In early spring, I use row covers to protect tender seedlings from unexpected cold snaps – it’s like giving them a cozy blanket!
Making the Most of Each Season
I love maximizing my garden’s potential year-round! In late summer, I start sowing edible seeds again for a fall harvest. Radishes and lettuce are perfect for this – they’ll give you another round of fresh produce before winter sets in. For longer-season crops like garlic, one of the immunity-boosting plants, I plant in autumn for a fantastic summer harvest the following year.
Pro tip: Create a simple calendar marking out when to plant each type of edible seed. I’ve learned that staggering plantings every few weeks ensures continuous harvests and makes the most of each growing season. This way, you’ll always have something fresh to harvest from your garden!
Growing Success from Tiny Beginnings
Remember, every master gardener started with their first seed, and now you’re equipped with all the knowledge you need to begin your own edible garden adventure. From selecting the right seeds to celebrating your first harvest, each step is part of an incredibly rewarding journey.
Don’t be afraid to experiment and learn as you grow – that’s half the fun! With these tips and techniques in your gardening toolkit, you’re well on your way to transforming those tiny seeds into a bountiful harvest that’ll make your kitchen come alive with homegrown flavors.