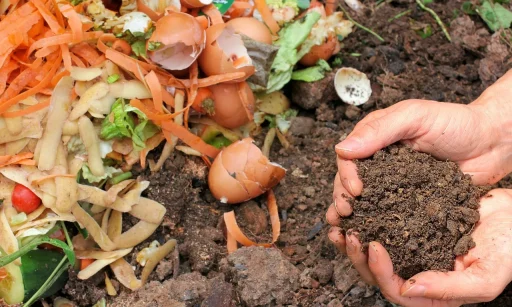
Did you know that the average household throws away about 30 percent of perfectly compostable materials every week? That’s like tossing garden gold straight into the bin! But here’s the exciting part – you can transform those kitchen scraps and yard waste into nutrient-rich soil that your plants will absolutely love.
Starting a compost pile at home isn’t just about being eco-friendly (though that’s a brilliant bonus). It’s about creating your own premium soil amendment that would cost a small fortune at the garden center. I’ve been composting for years, and I’m still amazed at how yesterday’s coffee grounds and banana peels become tomorrow’s thriving garden.
What is Composting and Why Should You Start?

Ready to turn your kitchen scraps and yard waste into garden gold? Composting is nature’s way of recycling organic materials into a nutrient-packed soil amendment that’ll transform your garden. You’ll love how this simple process helps you create rich, dark soil that plants absolutely thrive in.
Starting a compost pile at home isn’t just good for your garden – it’s fantastic for the planet too. You’ll cut down on waste, and you’ll save money on expensive fertilizers and soil amendments.
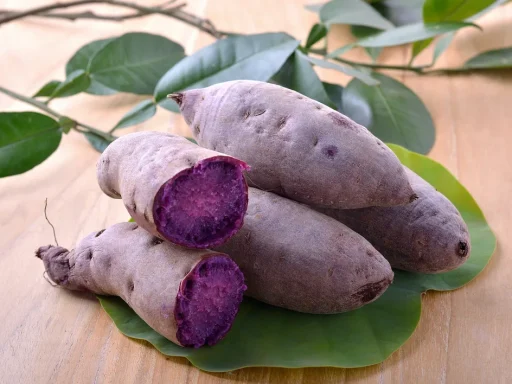
The magic happens when organic materials break down naturally, creating what gardeners often call “black gold.” Think of it as a simple step to create a superfood smoothie for your soil! It improves soil structure, adds essential nutrients, and helps retain moisture – everything your plants need to flourish.
I’ve been composting for years, and here’s what I love most about it: it’s incredibly satisfying to watch yesterday’s coffee grounds and banana peels become tomorrow’s vibrant tomatoes and blooming flowers. Plus, you’ll be amazed at how much less garbage you’ll send to the landfill every week.
So whether you’ve got a sprawling backyard or just a tiny balcony, you can start composting today and make a real difference in your garden and the environment.
Setting Up Your Compost Pile
Let’s get your composting journey started with the perfect setup! I always tell first-time composters that location is everything. You’ll want to find a dry, shady spot in your yard that’s close enough to reach with your garden hose but far enough from your house to avoid any unwanted smells. Trust me – having easy access to water will make maintaining your pile so much simpler.
Before you start piling up those kitchen scraps, clear a space down to bare soil – this helps beneficial organisms move freely between the ground and your compost. I’ve found that laying down a base layer of twigs or straw works wonders for drainage (you definitely don’t want a soggy pile!).
You don’t need fancy equipment to get started, but a few basic tools will make your life easier. Grab yourself a pitchfork or garden fork for turning the pile – it’s much easier than using a shovel, though you’ll want one of those too for moving finished compost. A sturdy rake comes in handy for gathering leaves and maintaining your pile’s shape. Building and maintaining compost is simple once you understand the basics.
The best part? Once you’ve got your spot picked out and your tools ready, you’re all set to start transforming your yard waste into garden gold!
Building Your Compost Layers
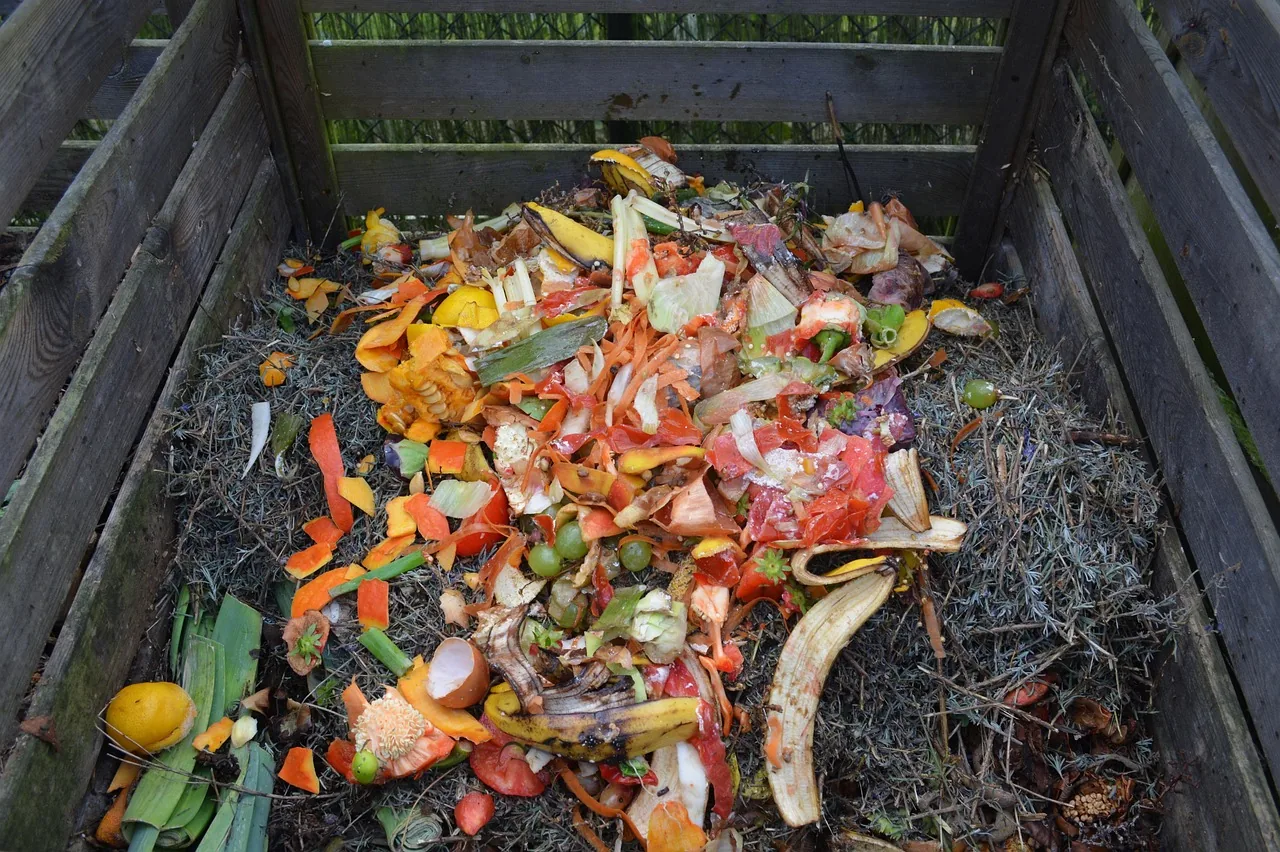
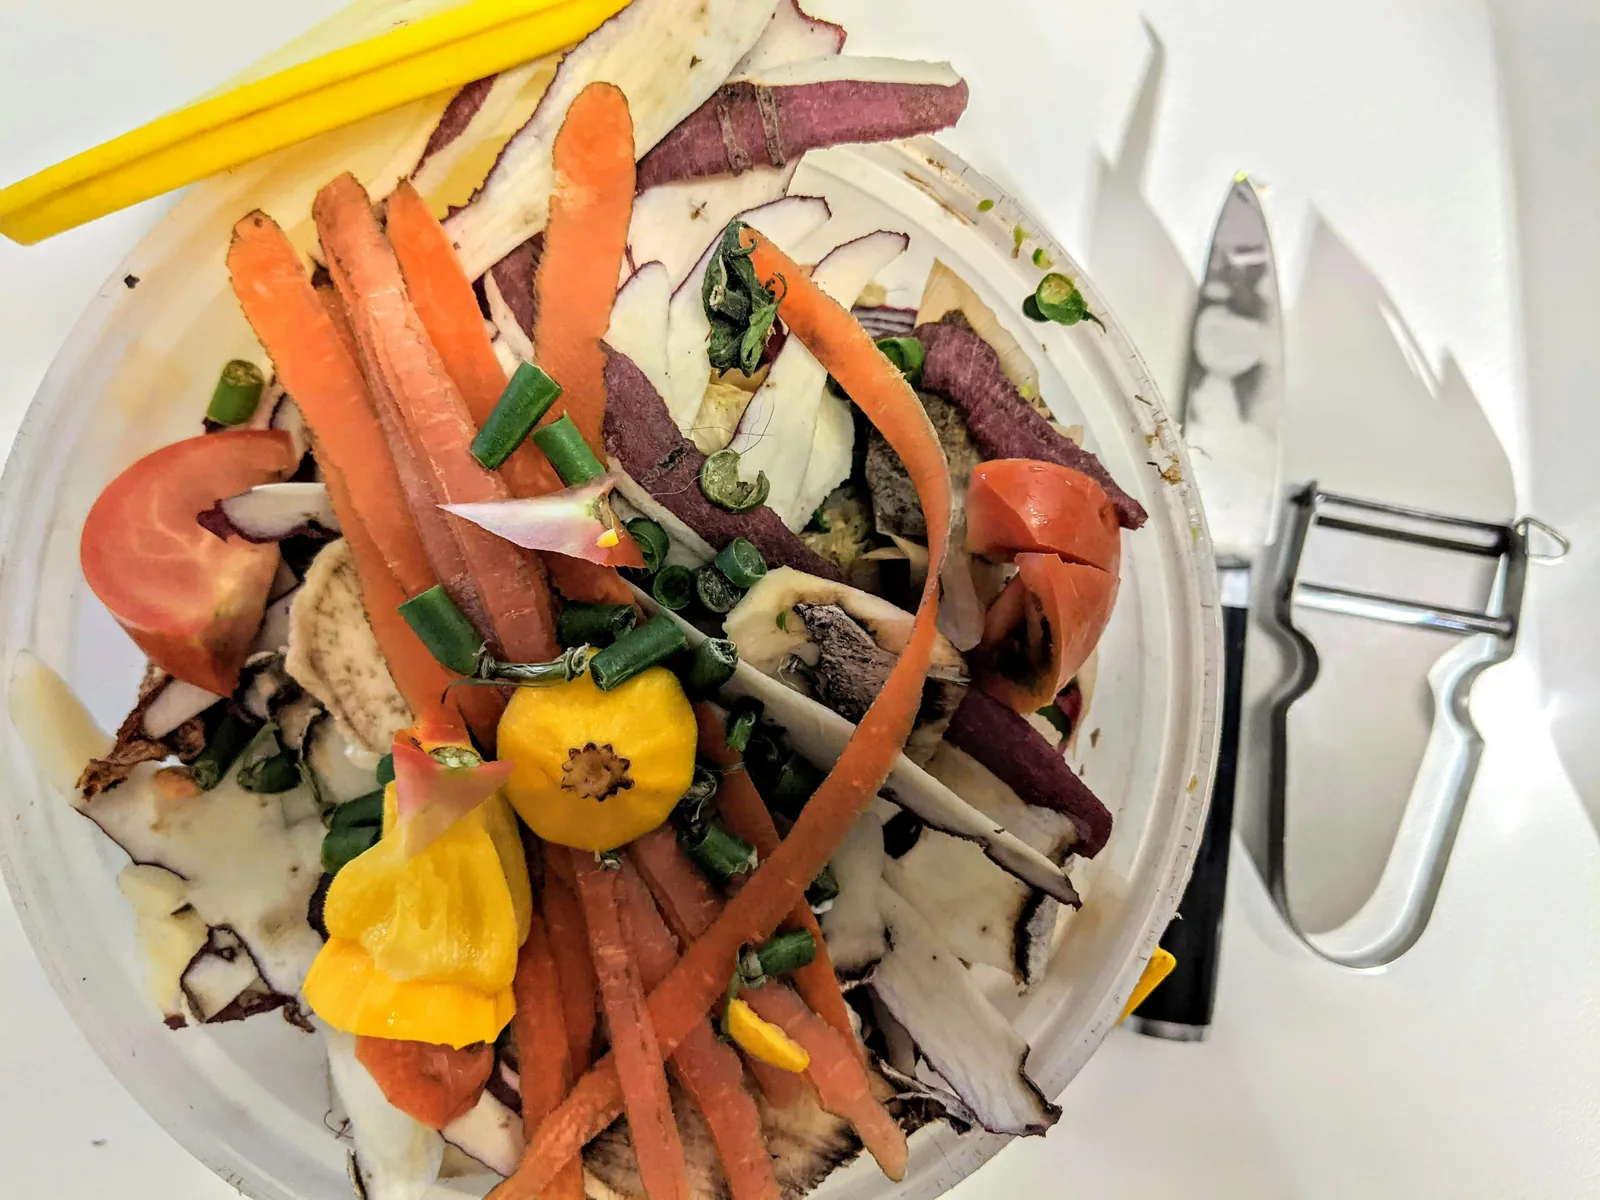
Think of building your compost pile like making a delicious layer cake – it’s all about getting the right mix! I always start with a 4:1 ratio of “browns” to “greens.” This means I use four parts brown to one part green. Browns are your carbon-rich materials like dry leaves, shredded newspaper, cardboard, and wood chips. Greens are nitrogen-packed ingredients like grass clippings, vegetable scraps, and garden trimmings.
Here’s my tried-and-true layering technique: Start with a thick layer of browns (about 6 inches), then add a thinner layer of greens (about 2 inches). Keep alternating these layers as you build your pile. I’ve found that sprinkling a bit of soil between layers helps kick-start the decomposition process.
You’ll want to pay attention to the balance – it’s crucial for those helpful microorganisms that break everything down. If your pile starts to smell, add more browns. If it’s not breaking down quickly enough, throw in some greens. The key is keeping everything moist (like a wrung-out sponge) and well-mixed.
Pro tip: Keep a small container in your kitchen for collecting green materials, and store a bag of leaves or shredded paper nearby to layer with them. You’ll find it makes the whole process much smoother!
Maintaining Your Compost Pile
Here’s the secret to a thriving compost pile: it’s all about moisture and movement! I always tell my gardening friends to think of their pile like a wrung-out sponge – it should feel obviously damp when you touch it, but shouldn’t drip water when squeezed. During dry spells, I’ll give my pile a quick spray with the garden hose to keep those decomposing microbes happy and active.
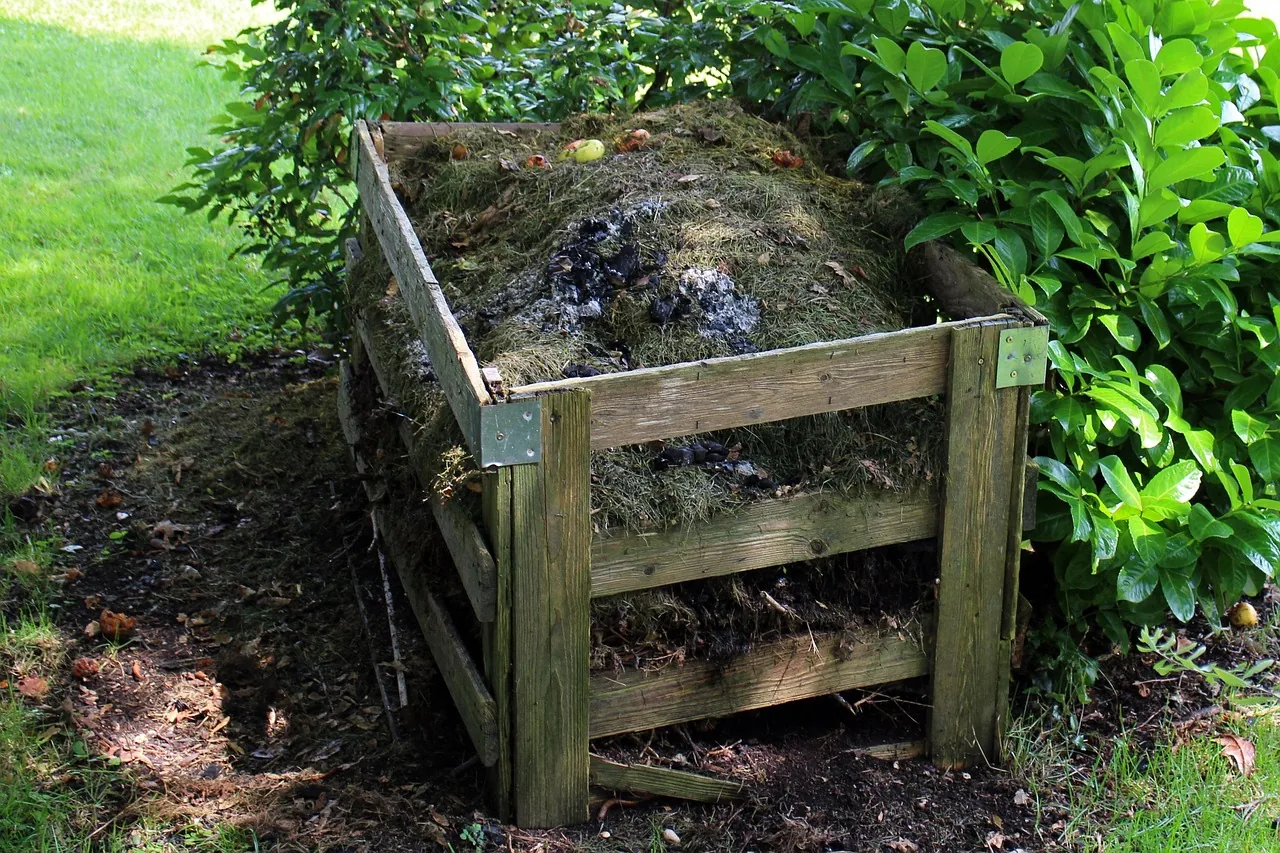
Every couple of weeks, grab your pitchfork and give that pile a good turn. Think of it as a workout for your compost! Turning helps oxygen reach all parts of the pile, which keeps those helpful decomposers working their magic. I’ve found that moving materials from the outer edges to the center really gets things heating up – that’s when you know decomposition is in full swing. Maintaining a hot compost pile is crucial for successful decomposition.
Don’t forget to tuck your pile in! I use an old tarp to cover mine, but a piece of carpet works brilliantly too. This simple trick keeps the heat and moisture locked in while preventing nutrients from washing away when it rains. Plus, it helps maintain that perfect composting environment year-round. Just remember to lift the cover when you turn the pile to let in fresh air.
Dos and Don’ts of Composting

Let’s talk about what makes great compost – and what definitely doesn’t! I always tell new composters to think “organic and natural” when choosing materials. Your fruit and veggie scraps, coffee grounds, grass clippings, and fallen leaves? They’re perfect! These break down beautifully and create nutrient-rich compost.
But here’s what you’ll want to keep out: meat, dairy products, and pet waste are absolute no-nos. I learned the hard way that these not only create nasty odors but can also attract unwanted visitors to your pile. Start your first compost pile right by avoiding greasy or oily foods too – they’ll slow down the whole composting process.
Want to keep pests and smells at bay? Here’s my foolproof strategy: I always cover fresh kitchen scraps with a layer of brown materials like dried leaves or shredded paper. Think of it as tucking your greens into a cozy brown blanket. This simple trick keeps flies away and helps control any potential odors.
Remember to turn your pile regularly – I do mine every couple of weeks. This keeps everything well-aerated and speeds up decomposition. Plus, good airflow means fewer funky smells and happier neighbors! If you’re noticing any strong odors, that’s usually a sign you need more browns in your mix.
Composting in Urban Environments (Balconies)

Living in a city apartment? You can still join the composting revolution! I’ve helped dozens of urban dwellers create thriving compost systems in the tiniest of spaces. The secret is thinking vertically and starting small.
For balcony composting, I recommend starting with a compact bin (about 2 to 3 feet tall) with plenty of holes drilled for airflow. A plastic storage container works brilliantly – I’ve transformed many into perfect urban composting solutions. Just remember to add a layer of gravel at the bottom for drainage, and you’re good to go!
Your kitchen scraps and shredded paper will be your best friends here. I’ve found that urban composters actually have an advantage – you’re likely generating the perfect mix of materials already! Coffee grounds from your morning brew, vegetable peelings, and those endless pieces of junk mail create an ideal balance.
Dealing with winter? No problem! Learn to build compost with proper insulation using bubble wrap or old blankets to keep the decomposition process going. I wrap mine in a thick layer of cardboard – it works wonders for maintaining temperature. Even in the coldest months, your mini compost factory can keep churning out that beautiful black gold!
Pro tip: A vermicomposting system (that’s composting with worms) works exceptionally well in small spaces. These little workers are surprisingly odorless and incredibly efficient at breaking down kitchen scraps.
Seasonal Care Tips for Your Compost Pile

Winter doesn’t mean your composting has to slow down! I’ve found that keeping your pile active during the cold months is all about size and insulation. You’ll want your pile to be at least 3 feet cubed – that’s the magic number for maintaining enough internal heat. I always surround my winter pile with straw bales or thick cardboard, creating a cozy blanket that keeps the maintaining compost pile process humming along.
During spring and summer, it’s all about moisture management. I check my pile weekly during these warmer months – more frequent turning keeps everything properly aerated and prevents the pile from getting too hot or dry. On particularly scorching days, I’ll give the pile a good sprinkle with the hose before turning it. Think of it as giving your compost a refreshing drink!
Here’s my favorite seasonal trick: In autumn, I collect extra leaves and store them in bags for winter use. They’re perfect for balancing out all those kitchen scraps you’ll accumulate during the colder months. Plus, they act as natural insulation when layered around the edges of your pile.
Remember, your compost pile is a living ecosystem that needs different care as the seasons change. Watch how it responds to weather changes, and adjust your maintenance routine accordingly.
Pest Control and Odor Management

Nobody wants uninvited critters in their compost pile! I’ve found that keeping pests away is all about smart management. The secret? Turn your pile regularly – I do mine every couple of weeks. This constant movement disrupts any cozy homes that rodents might try to build. Plus, maintaining the right moisture level (damp but not soaking) naturally deters many unwanted visitors.
If you’re worried about critters, consider using a covered bin or tumbler. I switched to one years ago, and it’s been fantastic for keeping everything contained while still allowing proper airflow. Just remember to secure the lid properly – raccoons can be surprisingly clever!
As for odors, they’re usually a sign that something’s not quite right with your pile. I always tell new composters that a healthy pile should smell earthy, like a forest floor after rain. If you’re getting unpleasant whiffs, it’s probably because your pile needs more oxygen. Building a compost pile properly from the start can help prevent these issues. Give it a good turn and add some dry brown materials like leaves or shredded paper.
Here’s my foolproof odor-prevention strategy: every time I add kitchen scraps, I cover them with a layer of browns. Think of it as burying treasure – it keeps smells locked away while those scraps break down into beautiful compost!
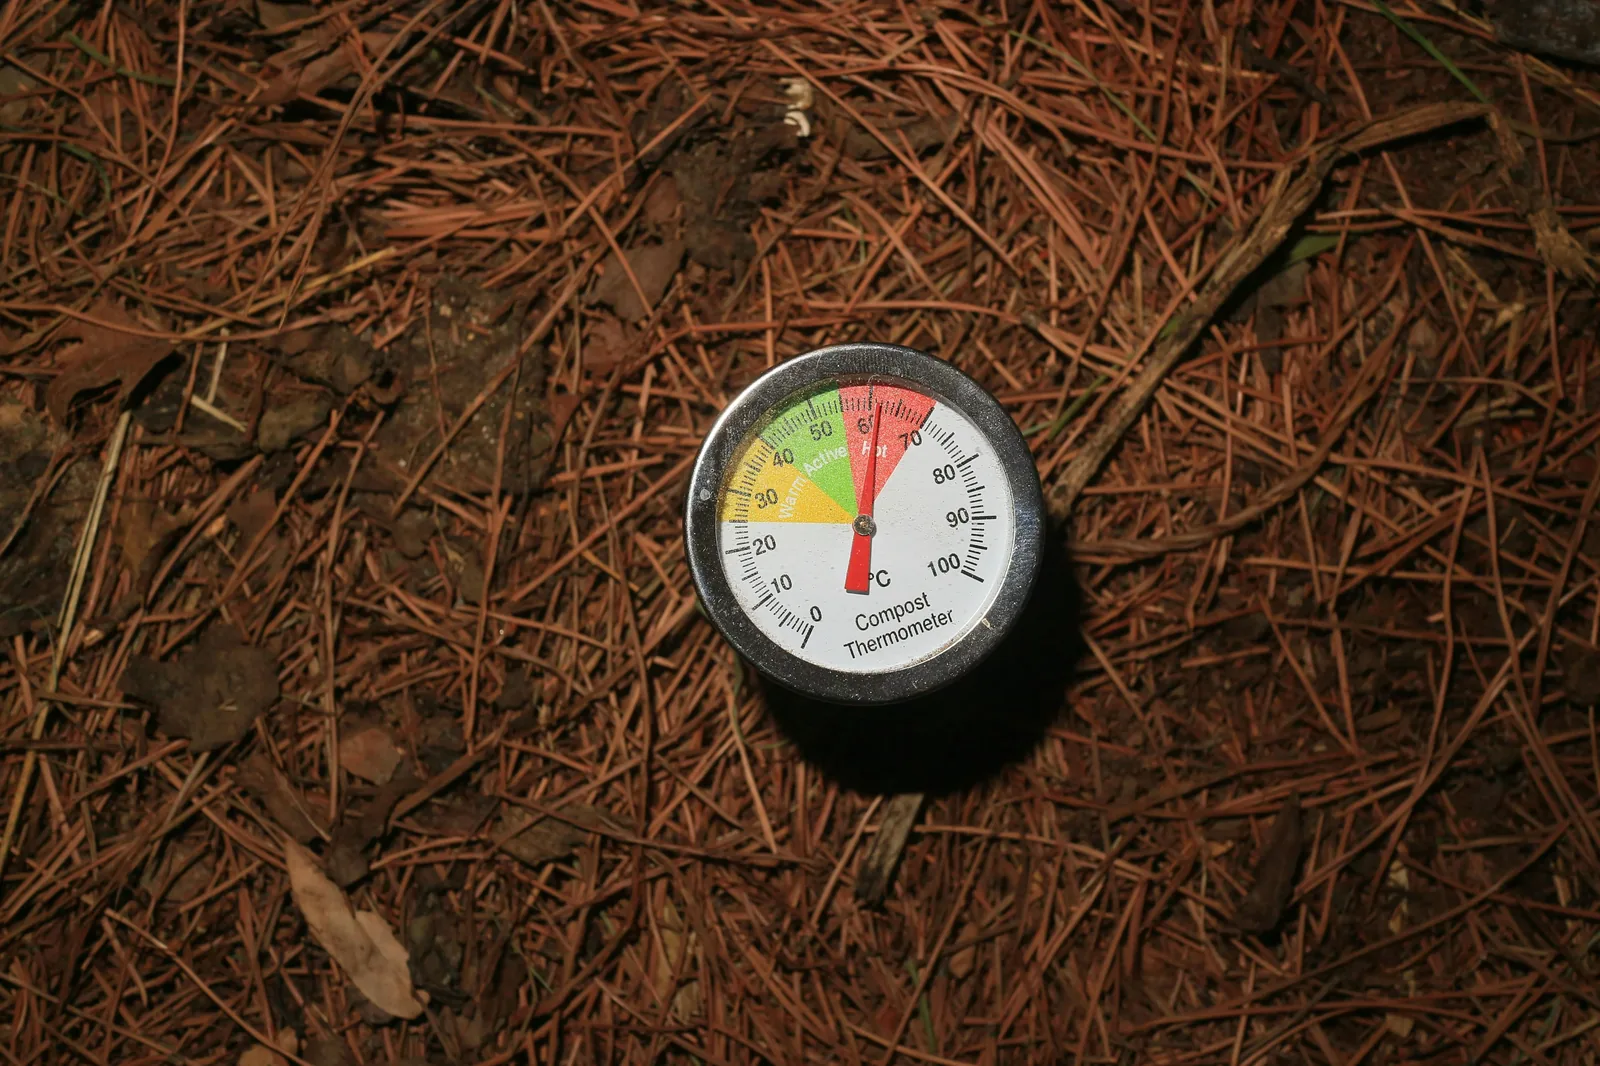
Determining Compost Readiness
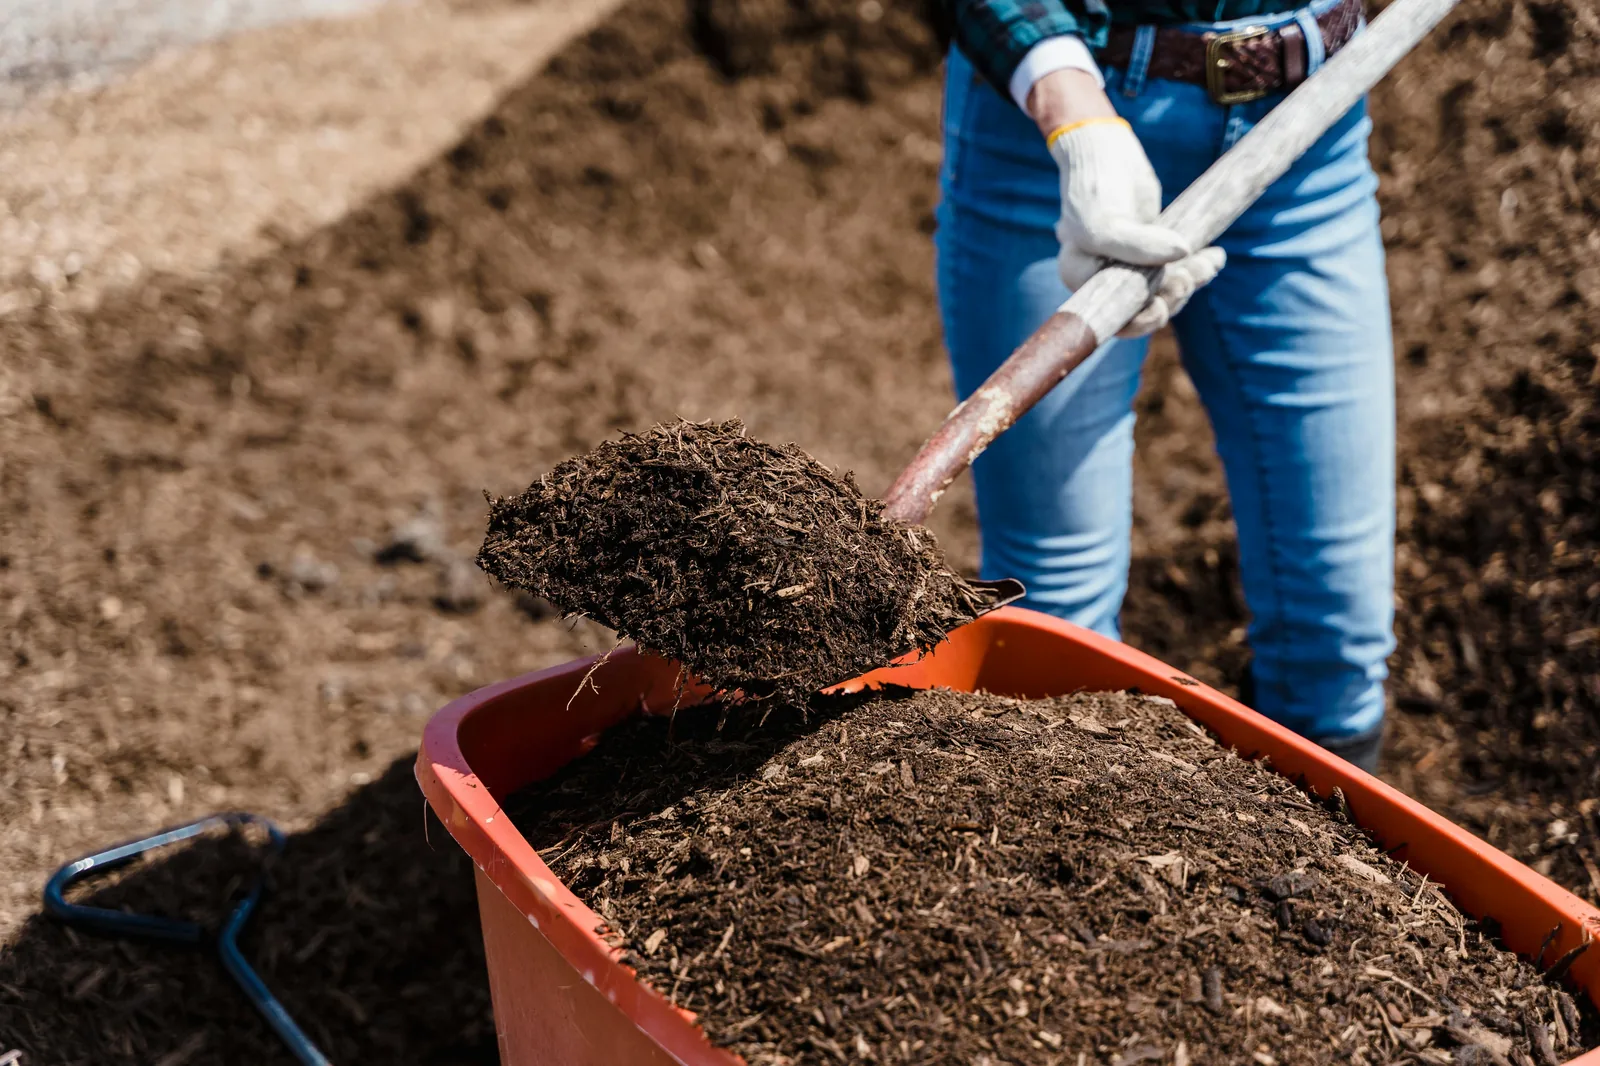
How do you know when your compost is ready to use? I always tell gardeners to trust their senses! Your compost will help you identify the signs. Your finished compost should be dark and crumbly, with a rich, earthy smell that reminds you of a forest floor. When I squeeze a handful, it should hold its shape but crumble easily when poked – think of the texture of a chocolate cake!
One of my favorite signs that compost is ready is the presence of earthworms. These little garden helpers are naturally attracted to mature compost, and seeing them wiggling around is a great indicator that your pile has transformed into black gold. If you’re spotting these beneficial creatures, you’re definitely on the right track!
Want to test if your compost is truly ready? Here’s my foolproof method: grab a handful and look closely – you shouldn’t be able to recognize any of the original materials you added (except maybe some woody bits). If you’re still seeing recognizable food scraps or leaves, give it a few more weeks to break down completely.
Pro tip: I always let my finished compost cure for at least four weeks before using it. This extra aging time helps stabilize nutrients and ensures your plants will get the maximum benefit from all your hard work!
Utilizing Finished Compost
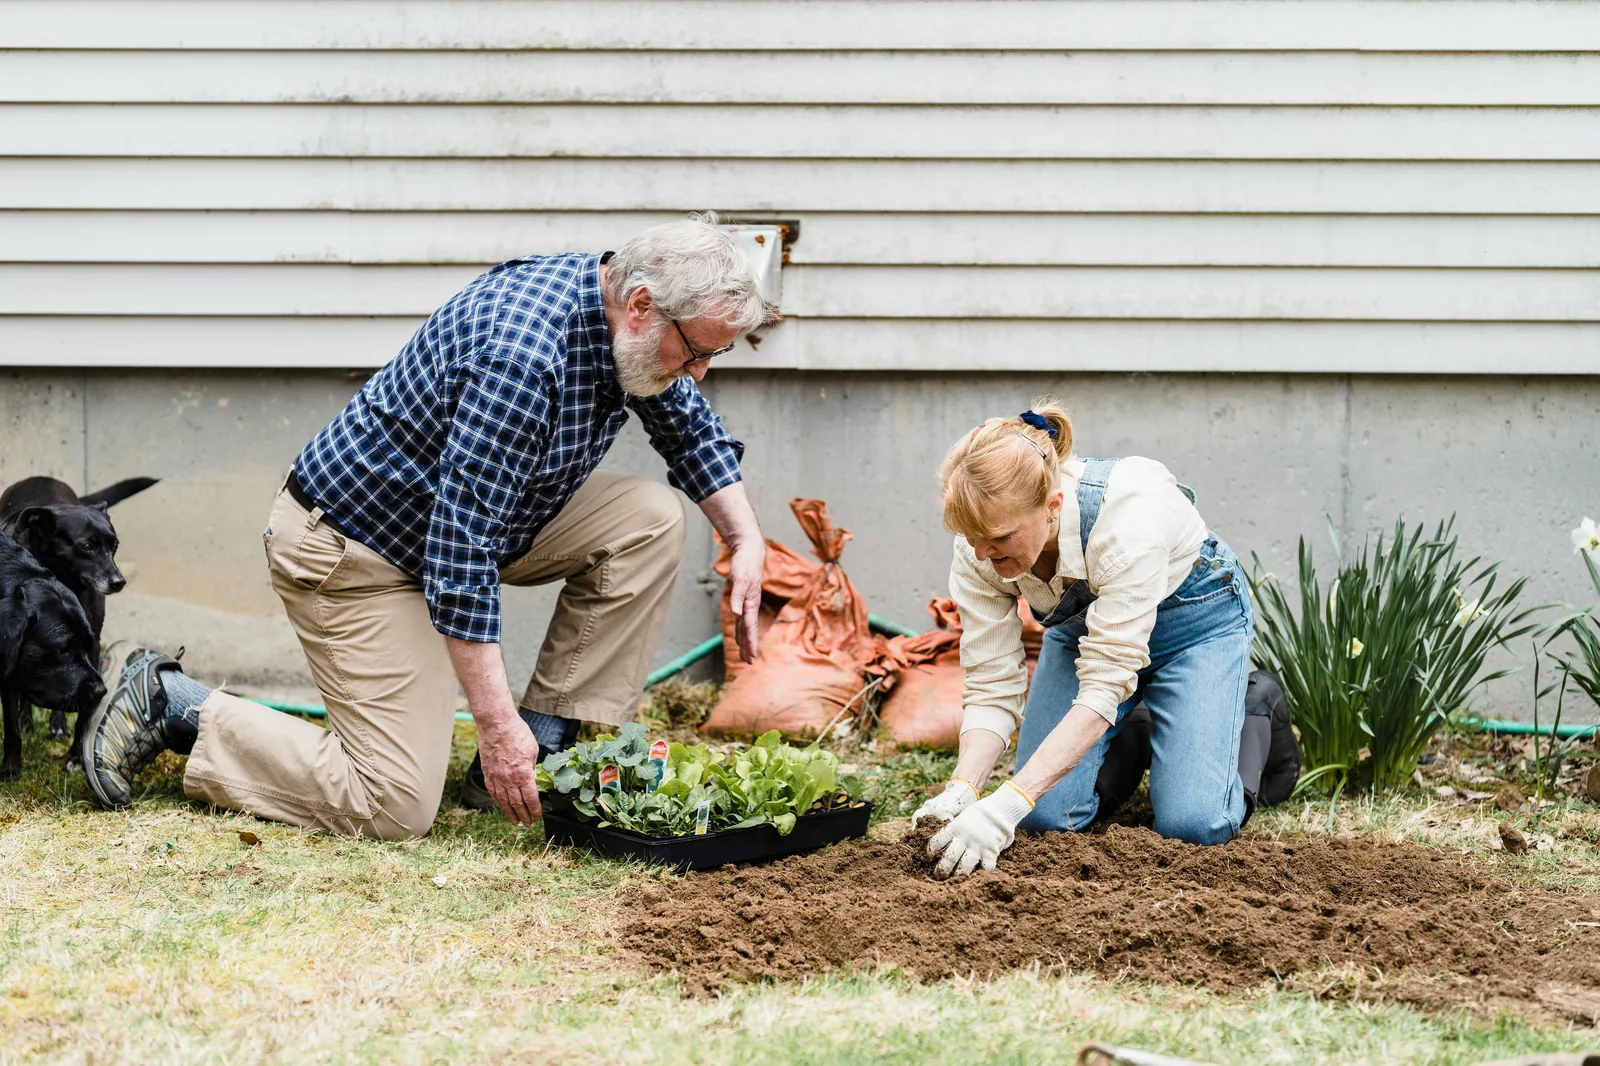
Now that you’ve got that beautiful, dark compost ready, let’s put it to work in your garden! I always start by mixing compost into the top 6 inches of soil. For established plants, I gently work it into the soil around their roots, being careful not to disturb them too much.
Your lawn will love compost too! I use a rake to spread a thin layer (about ¼ inch) across the grass in spring and fall. It’s amazing how quickly this improves soil structure and helps prevent those pesky bare patches.
Pro tip: sift your compost through a ½ inch screen first to remove any larger pieces – your lawn mower will thank you!
Got container gardens? Mix one part compost with two parts potting soil for a nutrient-rich growing medium that’ll keep your plants happy all season. I’ve found this ratio perfect for everything from herbs to tomatoes.
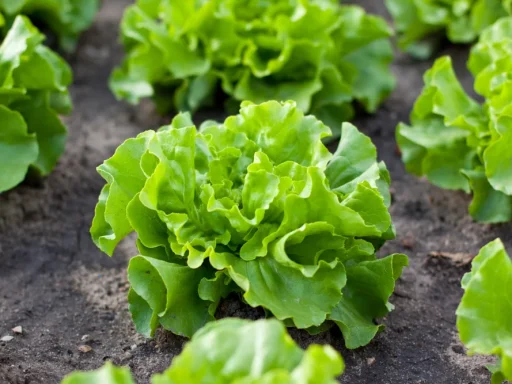
The benefits are incredible – you’ll notice better water retention (meaning less watering), stronger plant growth, and fewer pest problems. Plus, your soil will develop that beautiful, crumbly texture that gardeners dream about. It’s like giving your garden a super-charged vitamin boost!
Watch your plants flourish with each application – they’ll reward you with bigger blooms and better harvests. And remember, a little goes a long way – even a thin layer of compost can work wonders in your garden.
Additional Tips and Tools
Want to speed up your composting process? I’ve got some fun tricks up my sleeve! One of my favorite methods is what I call “drunk composting” – adding natural accelerators like sugar water, beer, or a splash of ammonia to kick things into high gear. These ingredients feed those hard-working microbes and can really get your pile cooking!
You’ll want to make sure you’ve got the right tools on hand too. I never start a composting session without my trusty pitchfork – it’s absolutely essential for turning and aerating the pile. A sturdy shovel comes in handy for moving finished compost, while a garden rake helps keep the pile neat and tidy.
Here’s a pro tip I’ve learned over the years: invest in a good compost aeration tool. These nifty gadgets look like giant corkscrews and make turning your pile so much easier, especially in tight spaces. I use mine at least once a week to maintaining a compost pile’s oxygen flow.
Remember, while these tools and accelerators can help, they’re not magic solutions. The key is still maintaining that perfect balance of greens and browns, moisture, and regular turning. But with the right equipment and a few clever additions, you’ll be amazed at how quickly your kitchen scraps transform into garden gold!
The Rewarding Journey of Composting
Starting a compost pile at home is more than just creating nutrient-rich soil – it’s about joining a movement that’s helping our planet one kitchen scrap at a time. You’ll be amazed at how quickly you’ll go from composting novice to soil-making expert, watching your waste transform into wonderful, rich compost that your garden will thrive on.
Remember, every successful gardener started somewhere, and composting is a journey of discovery. Whether you’ve got a sprawling backyard or a tiny balcony, you’re now equipped with everything you need to start your composting adventure. So grab those kitchen scraps and get ready to create some black gold – your garden (and the planet) will thank you!